

Azure Functions is a serverless compute service that enables you to run code-on-demand without having to explicitly provision or manage infrastructure. Use Azure Function to run a script or piece of code in response to a variety of events from sources such as:
- HTTP requests
- Timers
- Webhooks
- Azure Cosmos DB
- Blob
- Queues
- Event Hub
When it comes to implementing background processing tasks, the main options in Azure are Azure Functions and WebJobs. Azure Functions are built on top of WebJobs.
If you already have an app service running a website or a web API and you require a background process to run in the same context, a WebJob makes the most sense. You can share compute resources between the website or API and the WebJob and the also share libraries between them.
If you want to externalize a process so that it runs and scales independently from your web application or API environment, Azure Functions are the more modern serverless technology to choose.
Create Azure Functions
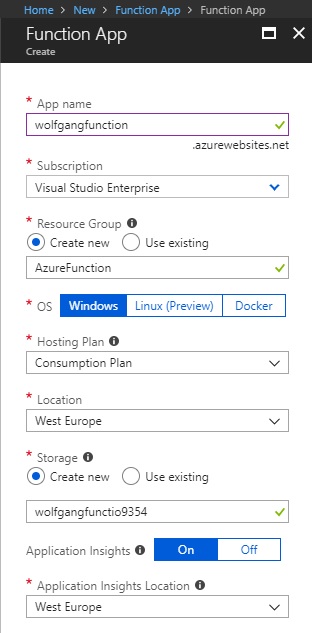
- In the Azure portal click on +Create a resource, search for Function App and click Create.
- Provide a name, subscription, resource group, hosting plan, location, and storage plan.
- Click Create.
Create an Azure Function
Implement a Webhook function
To implement a Webhook function, follow these steps:
- Open Visual Studio and make sure that you have the Azure Functions and Web Jobs Tool extension installed.
- Click New Project, expand the Visual C# and Cloud node, select Azure Functions and provide a name.
- Select the Empty template and click Create.
- Right-click on your solution, select Add and then New Item.
- Select Azure Function, provide a name and then select Generic WebHook.
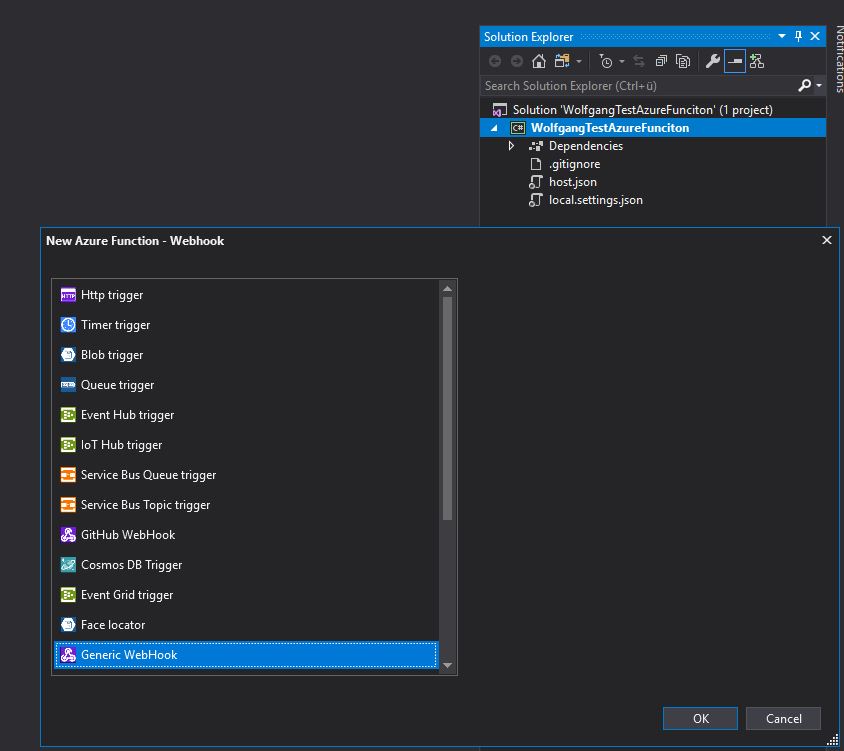
Create a Webhook for your Azure function
- Click OK to generate an initial implementation for your function.
- Start the application.
- In the output, you can see the Webhook URL.

The local URL of your Azure Function
- Post a JSON payload to the function using any tool that can issue HTTP requests to test the function.
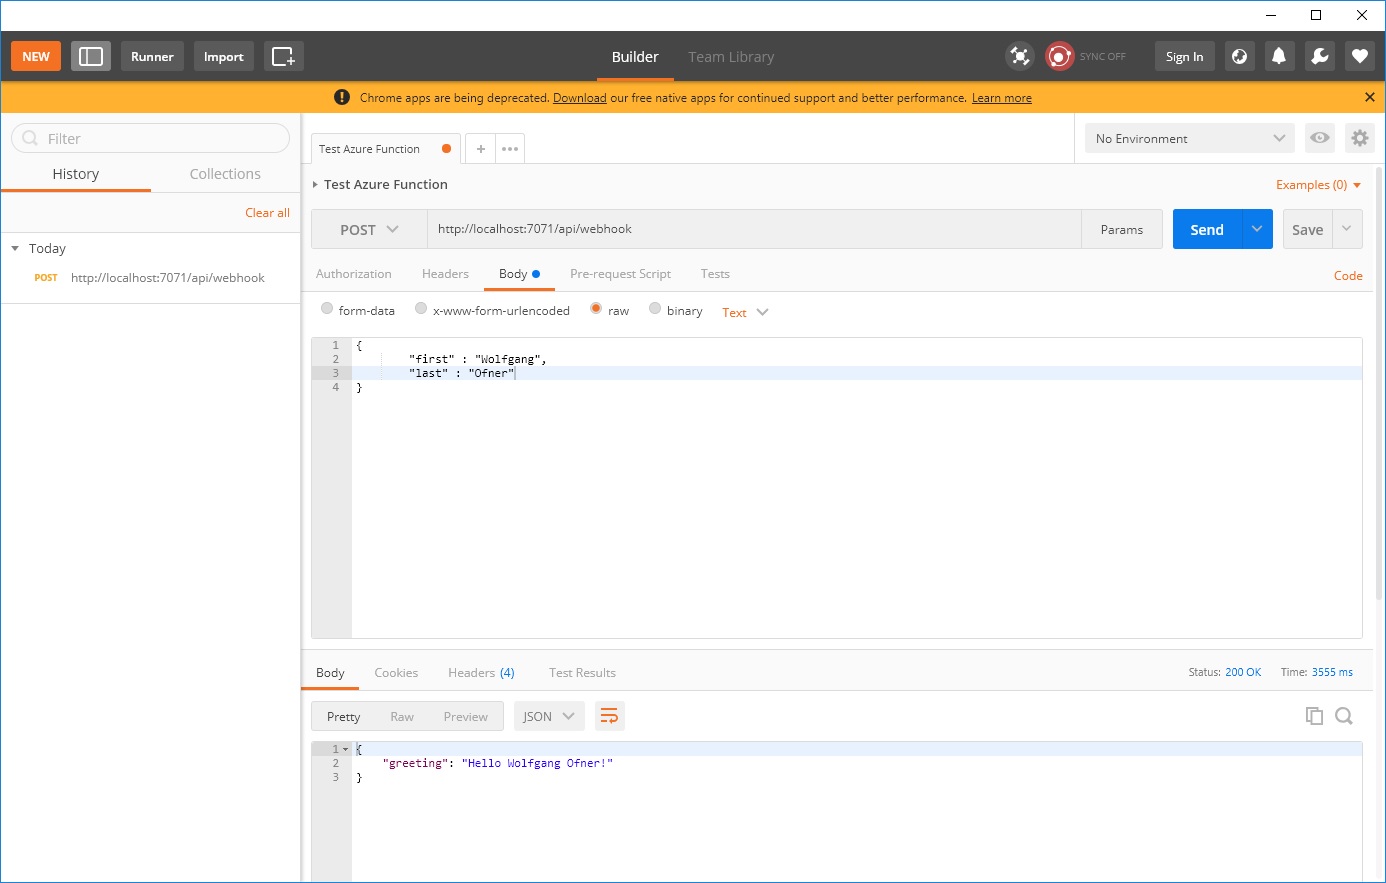
Test your Azure Function
Create an event processing function
To create an event processing function, follow these steps:
- Open your Function App in the Azure portal and click + sign on the Functions blade.
- Select Timer and C# and click Create this function.

Create an event processing function
- This creates a function that runs based on a timer. You can edit the .json file to adjust the settings for the function.
Implement an Azure connected function
To create an Azure connected function using Azure Queues, follow these steps:
- Open your Function App in the Azure portal and click + sign on the Functions blade.
- Click on Queue trigger.
- Select a language, provide a name for the function and queue and select a storage account.
- Click Create.
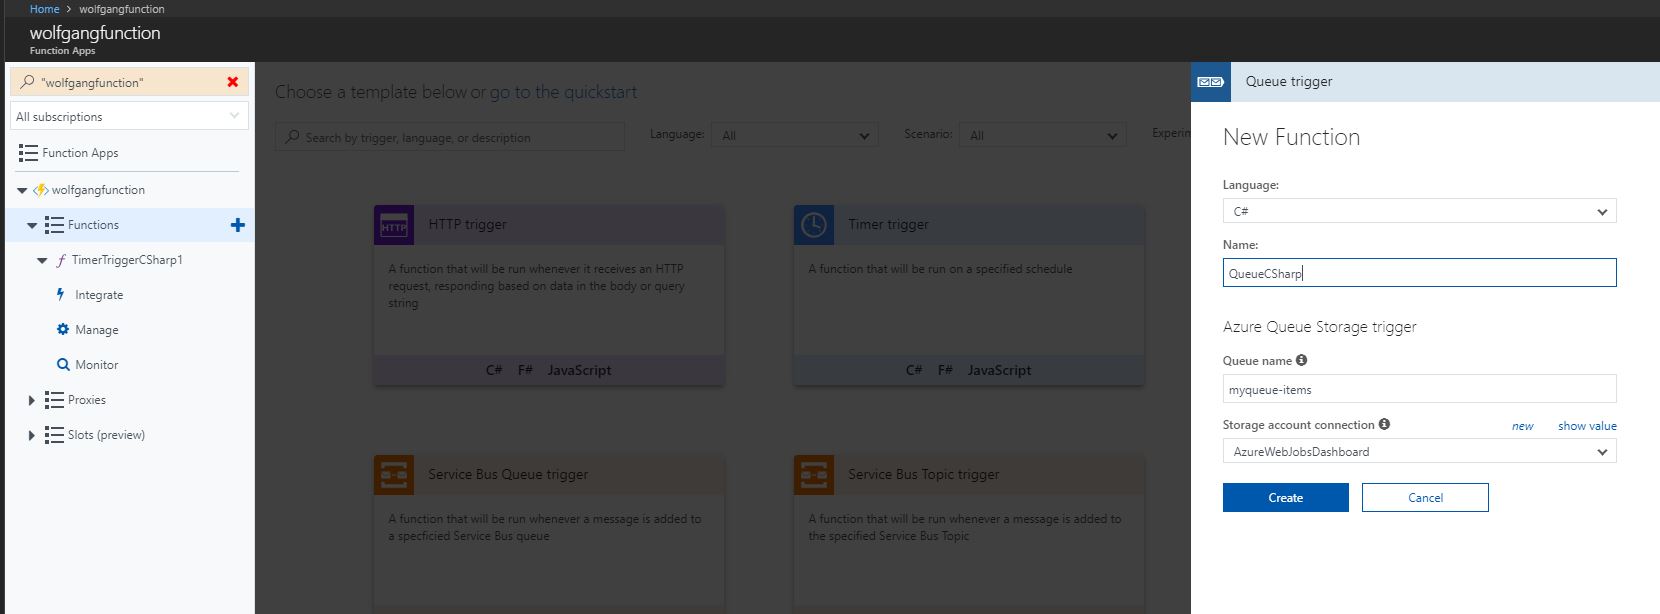
Create a queue triggered function
- The function will be created with a simple implementation already which is triggered when a message is queued.
- If you already had a storage account, the information will be filled in automatically in the Integrate tab. If not, then you have to enter your storage account, the account key, and the connection string.
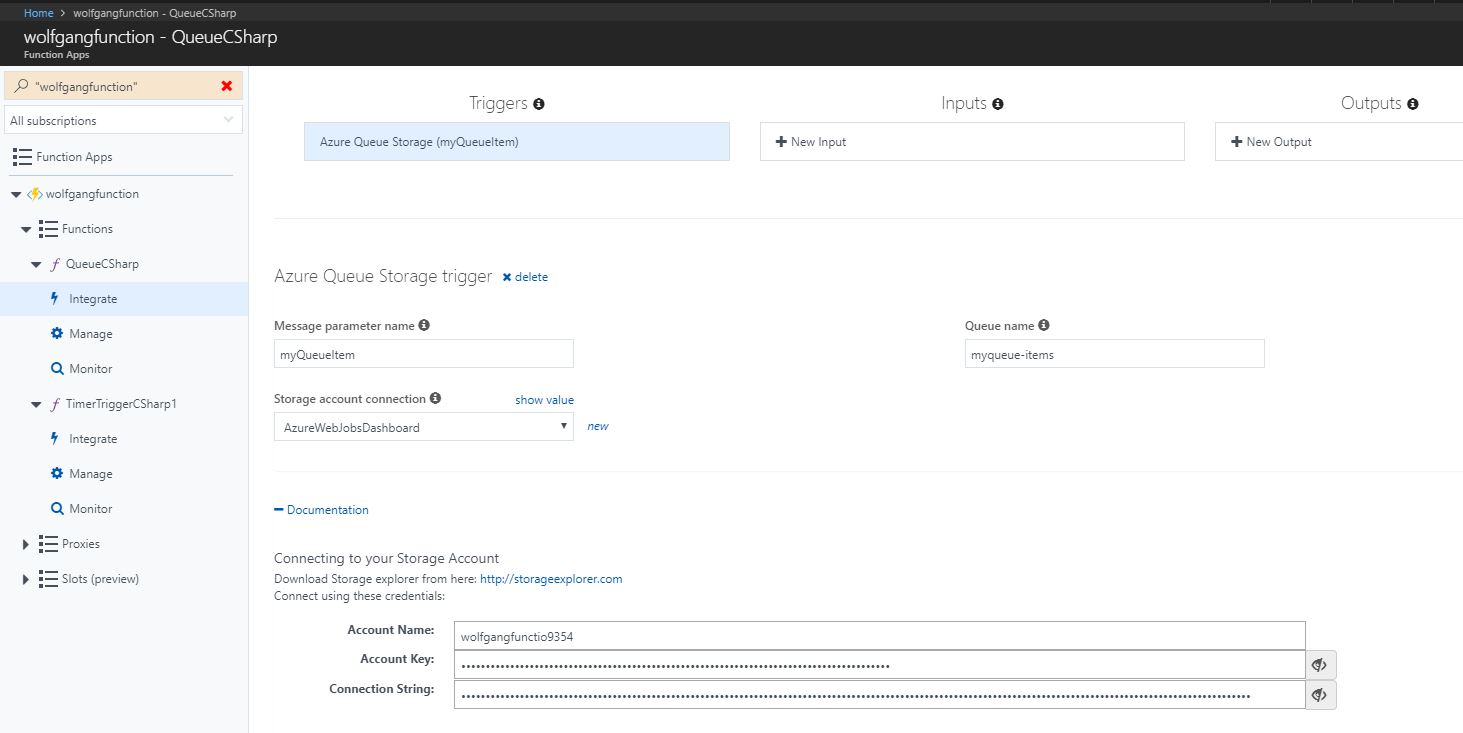
Add the storage account information to your function
- To test the function, click Run on the main tab. On the right side, you can see the input and on the bottom, you can see the output.
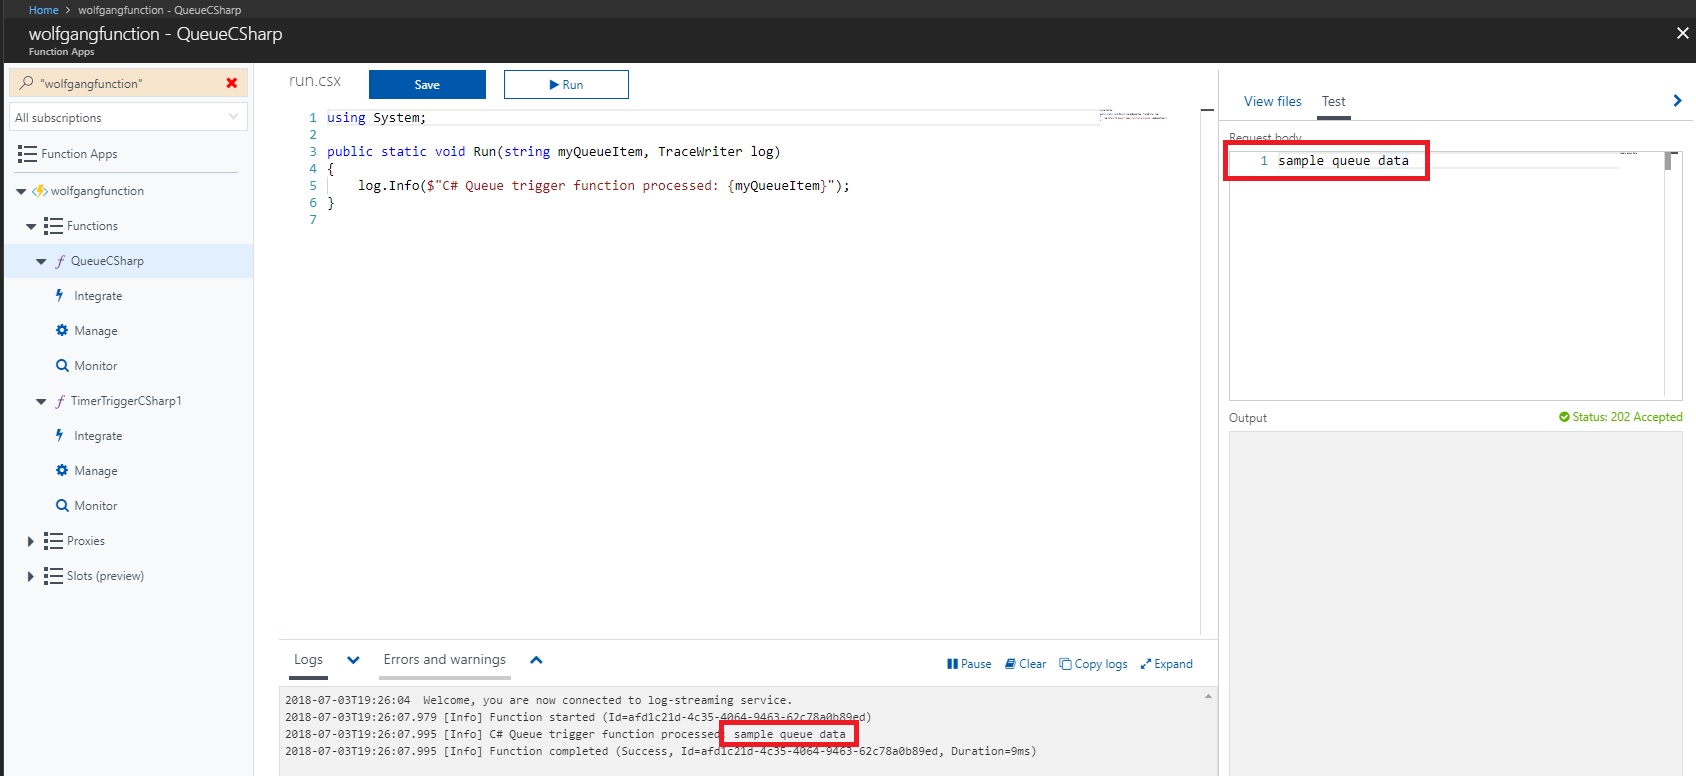
Test your function with the queue
Integrate a function with storage
To create a function integrated with Azure Storage Blobs, follow these steps:
- Open your Function App in the Azure portal and click + sign on the Functions blade.
- Click on Blob trigger.
- Select a language, provide a name for the function and queue and select a storage account.
- Click Create.
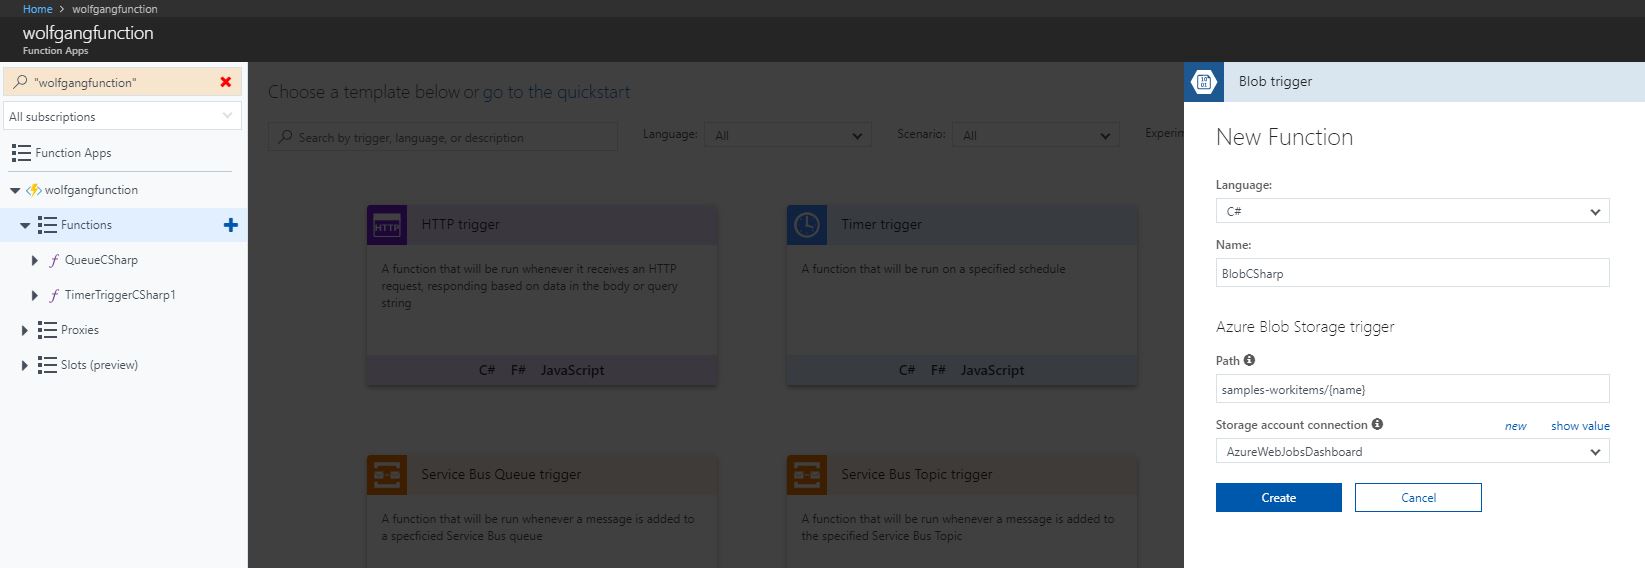
Create an integrated function with storage
- The function will be created with a simple implementation already which is triggered when a message is queued.
- Azure fills out the storage account in the Integrated tab if you already have one. If not, then you have to enter your storage account, the account key, and the connection string.
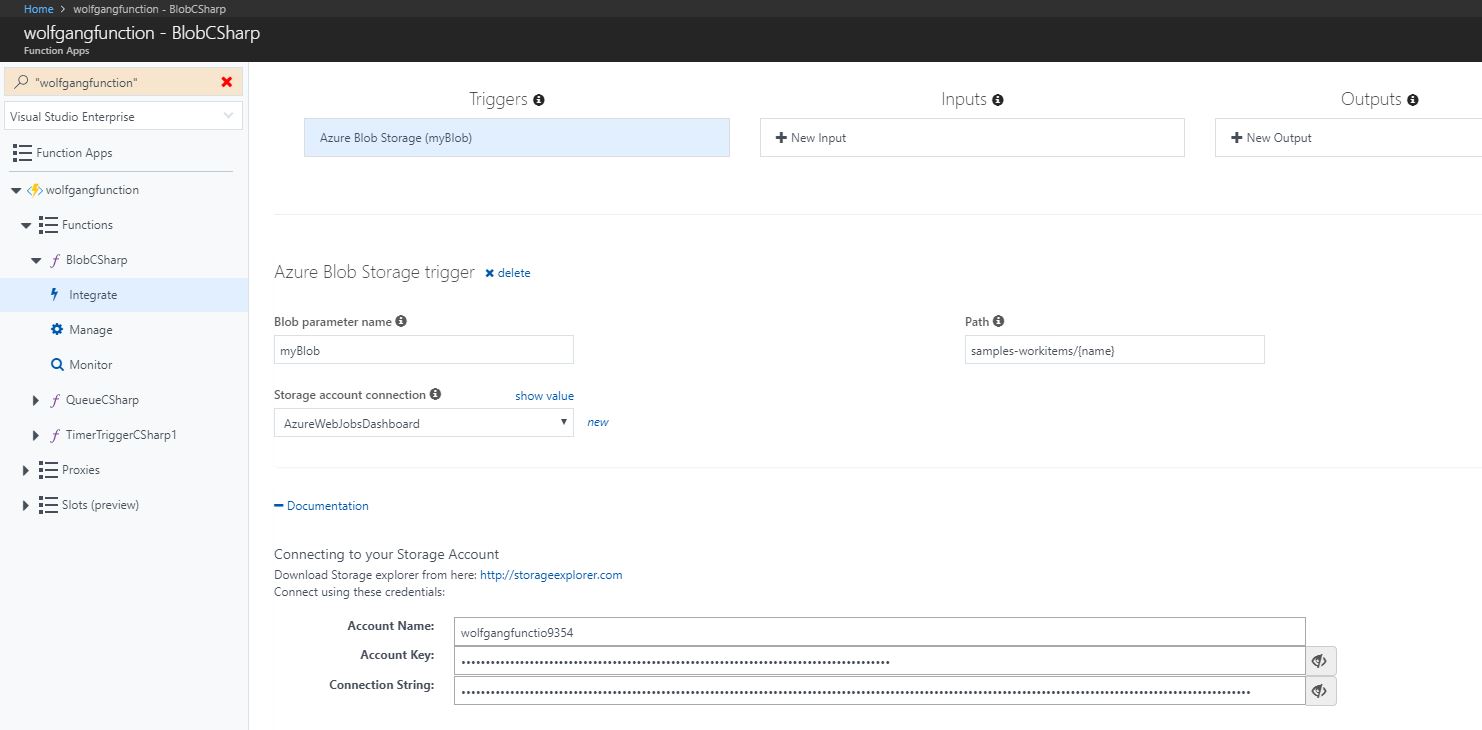
Add the storage account information to your function with blob storage
- To test the function, click Run on the main tab. On the right side, you can see the input and on the bottom, you can see the output. When you run the test for the first time, it will fail probably. If it fails, you probably don’t have the workitem.txt file in your blob storage.
Design and implement a custom binding
Function triggers indicate how a function is invoked. There is a number of predefined triggers, some already discussed in previous sections, including:
- HTTP triggers
- Event triggers
- Queues and topic triggers
- Storage triggers
Every function must have one trigger. The trigger is usually associated with a data payload that is supplied to the function. Bindings are a declarative way to map data to and from function code. Using the Integrate tab, you can provide connection setting for such a data binding activity.
You can also create custom input and output bindings to assist with reducing code bloat in your functions by encapsulating reusable, declarative work into the binding.
Debug a Function
You can run your Azure Function locally in your Visual Studio 2017 and debug it like any other C# application.
API Proxies
If you have a solution with many functions, you will find it can become work to manage given different URLs, naming, and versioning potentially related to each other. An API Proxy acts as a single point of entry to functions from the outside world. Instead of calling the individual function URLs, you provide a proxy as a facade to your different function URLs.
Furthermore, API proxies can modify the requests and responses on the fly.
API proxies make sense in HTTP-bound Azure Functions. They may work for other event-driven functions, however, HTTP triggers are best suited for their functionality. As an alternative, you can use API Management for a fully featured solution.
Integrate with App Service Plan
Functions can operate in two different modes:
- With a consumption plan where your function is allocated dynamically to the amount of computing power required to execute under the current load.
- With an App Service plan where your function is assigned a specific app service hosting plan and is limited to the resources available to that hosting plan.
Conclusion
This post showed different variations of Azure Functions and how to create them. Since there are so many applications for Azure Functions, it is impossible to go too much into detail. You should know enough to get started on your own though.
For more information about the 70-532 exam get the Exam Ref book from Microsoft and continue reading my blog posts. I am covering all topics needed to pass the exam. You can find an overview of all posts related to the 70-532 exam here.
Comments powered by Disqus.