

Azure ARM virtual machines can run a lot of different operating systems. In this posts, I will give an overview of these different types and I will also show how to create them in the Azure Portal. This post is part of the Microsoft 70-532 certification exam and contains the information necessary for the Deploy workload on Azure ARM virtual machines part of the exam.
Identify workloads that can be deployed on your Azure ARM virtual machines
Azure offers a wide variety of different VMs which you can deploy. These include:
- Base VMs which run different operating systems like Windows Server, Windows or different versions of Linux (Suse, Ubuntu or Red Hat)
- Web servers like Apache Tomcat
- Data science, database and big-data workloads like MS SQL Server, Couchbase or Hadoop
- Workloads that provide security and protection like intrusion detection systems, firewalls, data encryption or key management
- Workloads that help developers, for example, Visual Studio or the Java Development Kit
To see all available workloads go to the Azure Marketplace. There are besides workloads provided by Microsoft also workloads provided and maintained by the community. The topology that deploys the VM and any supporting infrastructure is described in an Azure Resource Manager (ARM) template.
Before deploying a new VM you have to consider the following requirements:
- CPU
- RAM
- Disk storage capacity
- Disk Performance (IOPS)
- Networking
- Availability
- Security
Create a Windows Server VM using the Marketplace
Following, I will explain how to create a new Windows Server VM from a pre-built image from the marketplace.
- Go to the Marketplace, select Compute, then Windows Server, select the desired Version, for example, 2016. After selecting your OS click Create.
- Provide the following information for your VM: <li style="list-style-type: none;">
- Name
- Disk type (SSD or HDD)
- User name
- Password
- Subscription
- An existing or new Resource group
- Location
- License (if available)
1
</li>
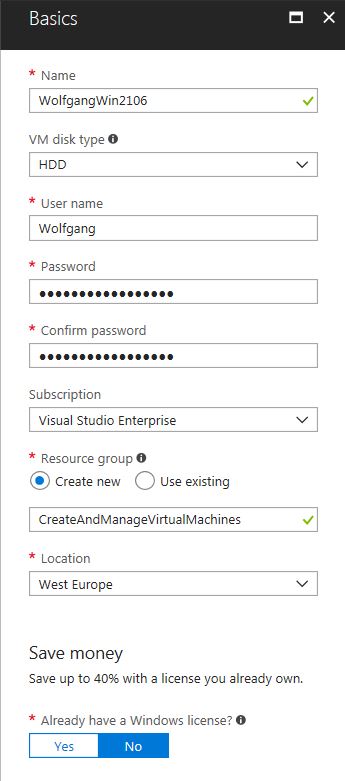
Entering basic data for the new VM
- On the next blade choose a size for your VM. There are many different configurations with different costs to choose from. After you selected one click Select.
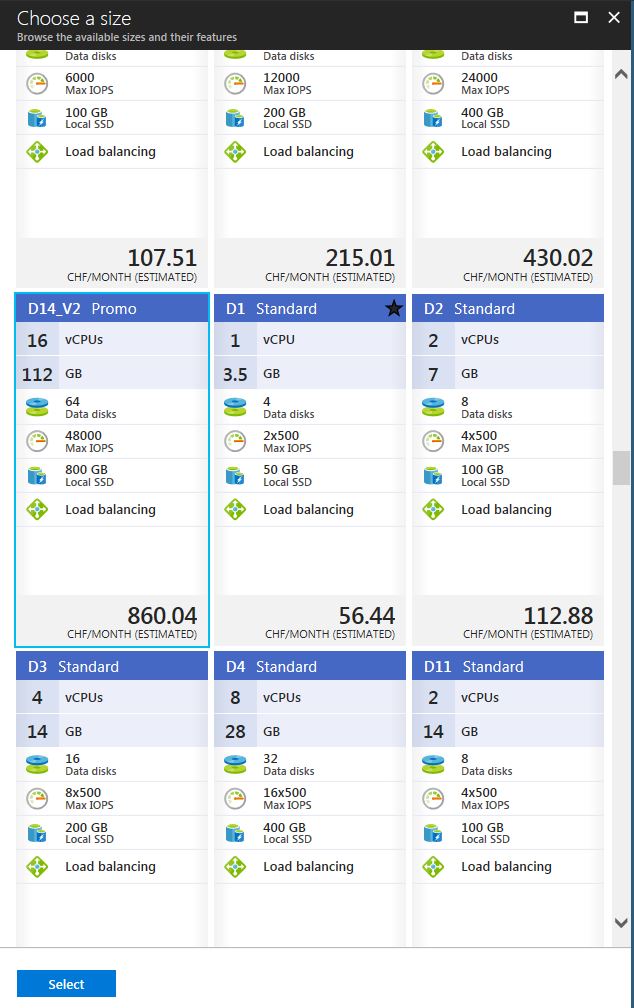
Select a VM size according to your needs
- Leave the optional Settings as they are.
- After entering all your settings, you get an overview of them in the Summary blade. Click Create to start the deployment process for your VM.
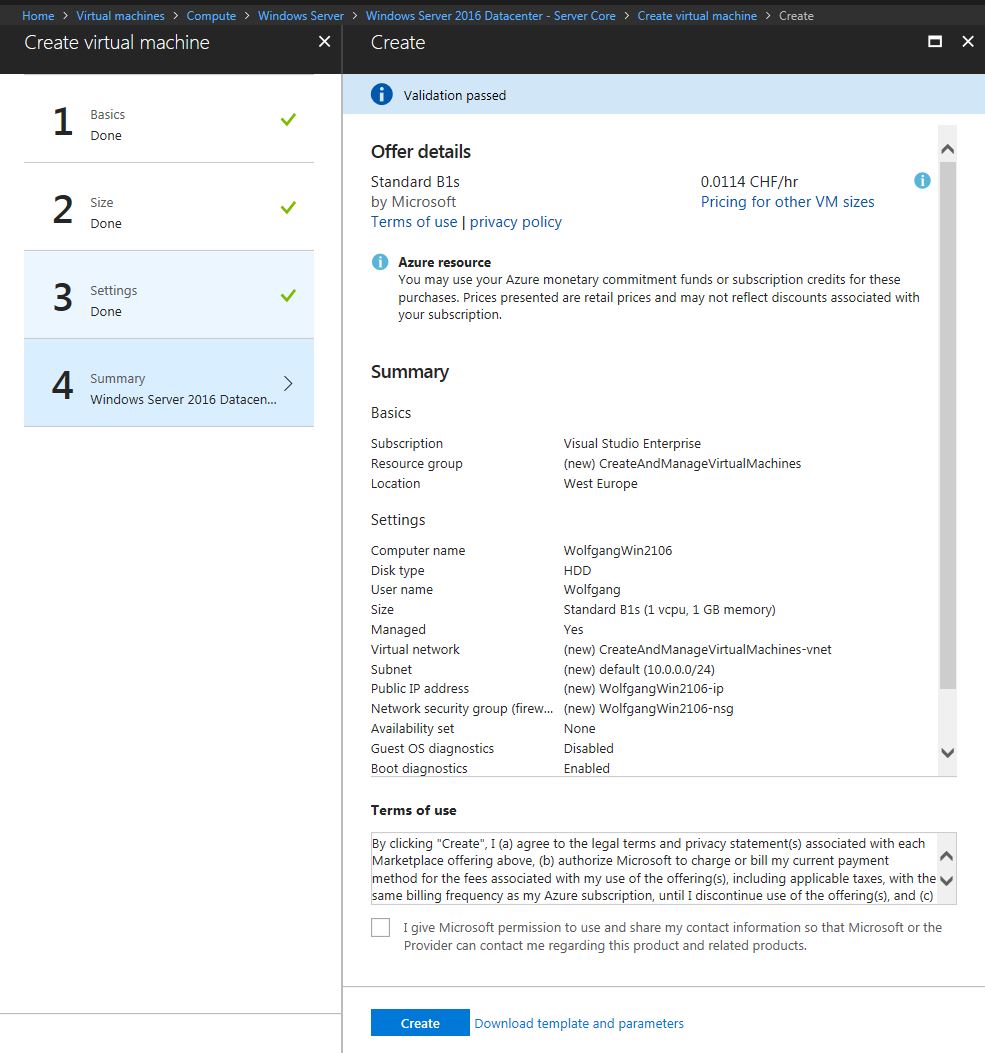
Summary of the new VM
Creating a Linux or SQL Server VM works the same way. The only difference is that you can provide a public SSH key instead of the password for the Linux VM.
Create and provision VMs, including custom VM images
You can create a new VM from an existing custom image. The advantage of this approach is that you could create the image and install all your programs on-premise and then upload the image to the cloud. Then you can use it to create as many VMs as you want in whatever data center you want.
The VMs can be created in the Azure Portal or using PowerShell.
Creating a custom image VM using the Azure Portal
To provision a VM using a custom image, I first have to create a custom image. To do that, I create a new Windows VM from the Marketplace. I repeat the same steps as in the previous chapter Create a Windows Server VM using the Marketplace except that I name the VM Source.
After the VM is deployed, I connect myself to the VM using a remote connection. You can download the remote connection when you click on your VM and then click Connect on the Overview blade.
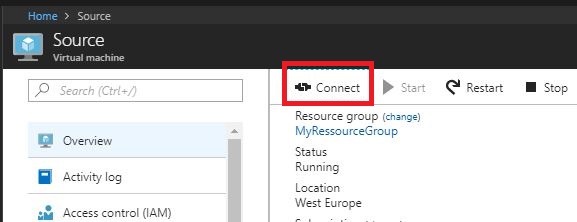
Download the remote connection to the VM
Connecting to the VM for the first time might take a while. Usually, it is pretty fast but it took me two hours until the remote connection was established once. After I am connected to the VM, I create a new txt file on the desktop. I don’t do anything with this file. This file is to demonstrate that the current image was used to create the new VM after I am finished.
The next step is to open the command line as administrator and change the path to %windir%\system32\sysprep and then start sysprep.exe. In the System Preparation Tool select Enter System Out-of-Box Experience (OOBE) and check the Generalize check box. In the Shutdown Options select Shutdown and then click OK. This will prepare the VM for cloning and remove all personal account information.
Create the image
After the image is generalized go back to the Azure Portal. Click on your VM and select Capture from the top menu on the Overview blade.

Capture the new image
On the Create image blade provide a name for your new image and a Resource group. Then click Create to create your new image.
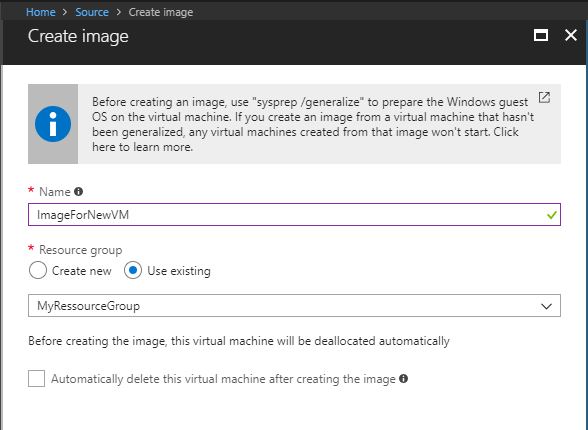
Create the image from your VM
Create a new VM from your custom image
The last step is to create your new VM from the previously created image. To do that click on All resources and select the image you just created. The type is Image and the symbol looks similar to the symbol of a virtual machine. After you selected your image, click on + Create VM on the top of the Overview blade. This opens the Create virtual machine blade where you can enter the configuration of your VM.
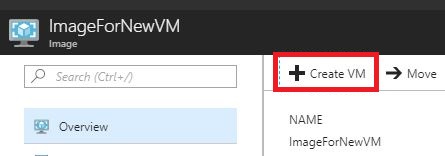
Create the VM from your image
Creating a custom VM using PowerShell
To create a VM using a custom image using PowerShell see the official documentation from Microsoft.
Deploy workloads using Terraform
Terraform is a templating language which allows the creation of human-readable templates to deploy complete infrastructures in Azure. To see how you can use it take a look at Microsoft’s documentation.
Conclusion
I talked about the requirements you should check before you create your Azure ARM virtual machines and then I showed how to create your own Windows Server VM with the Azure Marketplace. After that, I generalized the VM image to create a new VM with my custom image. At the end of this post, I linked to the documentation which explains how custom VMs can be created with PowerShell and how Terraform works.
For more information about the 70-532 exam get the Exam Ref book from Microsoft and continue reading my blog posts. I am covering all topics needed to pass the exam. You can find an overview of all posts related to the 70-532 exam here.
Comments powered by Disqus.