So far I have used a Service with the type LoadBalancer for my microservices. The service can be set up quickly and also gets a public IP address assign from Azure to access the microservice. Besides the load balancing, it has no features though. Therefore, I will replace the Service object with an Nginx ingress controller.
Today, I will implement the ingress controller and set up some basic rules to route the traffic to my microservices. In the next post, I will add SSL termination and the automatic creation of SSL certificates.
This post is part of “Microservice Series - From Zero to Hero”.
Install Nginx as Ingress Controller
The idea is to have an Nginx controller as the only entry point to my Kubernetes cluster. This controller will have a public IP address and route the traffic to the right microservices. Additionally, I will change the existing Service of the microservices to the type ClusterIP which removes the public IP address and makes them accessible only through the Nginx Ingress controller.
To install Nginx, I will use a Helm chart. If you don’t know Helm, see my posts Helm - Getting Started and Deploy to Kubernetes using Helm Charts.
First, create a new namespace that will contain the Nginx controller. This will help with future maintenance.
Next, add the Nginx Ingress Helm chart to your AKS cluster and then install it with the following code:
For this demo, it is enough to have two replicas but for your production environment, you might want to use three or more. You can configure it with the –set controller.replicaCount=2 flag. The installation of the Nginx ingress might take a couple of minutes. Especially the assignment of a public IP might take a bit. You can check the status with the following code:
This command also gives you the public (External) IP address of the controller:
Open the public IP and your browser and you should get the Nginx 404 page.
Configure the Microservices to use a ClusterIP Service
You can find the code of the demo on GitHub.
I have two existing microservices in my demo repo which both use a Service of the type LoadBalancer. Before you can use the Nginx Ingress controller, you have to change the Service type to ClusterIP. Since the microservices use Helm, you can easily override values using the values.yaml file and therefore, I added the following code there:
That is all that is needed for the Service. Next, you have to create an Ingress object for each microservice to tell Nginx where the traffic should be routed. You can find the Ingress object definition inside the Helm chart:
This might look complicated at first glance but it is a simple Nginx rule. It starts with an if condition which lets you control whether the Ingress object should be created. Then it sets some metadata like name and namespace and inside the rules, it defines the path and the port of the application. If you use Kubernetes 1.14 to 1.18, you have to use apiVersion: networking.k8s.io/v1beta1. I am using Kubernetes 1.22.6 and therefore can use the GA version of the API.
Lastly, add the values for the Ingress object to the values.yaml file:
The K8sNamespace variable is defined in the Azure DevOps pipeline and will be replaced when the Tokenizer task is executed. You can read more about it in Replace Helm Chart Variables in your CI/CD Pipeline with Tokenizer.
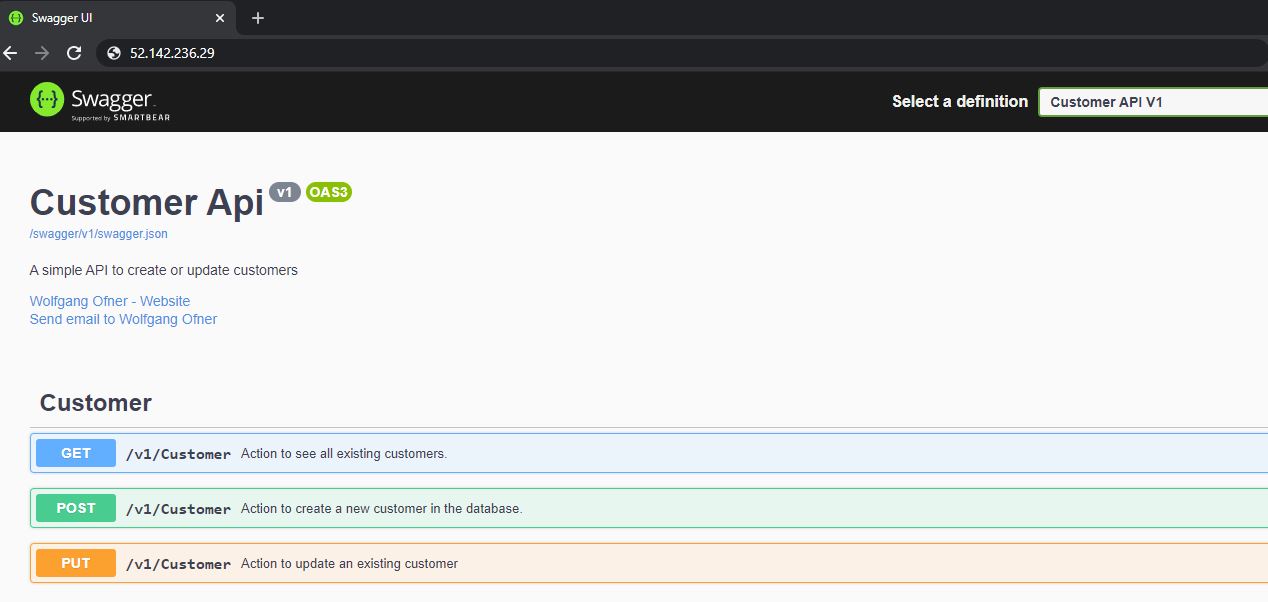
Deploy the application, open the URL of the Nginx controller and you will see the Swagger UI of the microservice:
This works fine but when you try to deploy the second microservice, you will get the following error message: Error from server (BadRequest): error when creating “orderapi-ingress.yaml”: admission webhook “validate.nginx.ingress.kubernetes.io” denied the request: host “_” and path “/” is already defined in ingress customerapi-test/customerapi-test. If you have two rules with / as the path, Nginx won’t know which one to take and therefore the deployment fails.
Add individual Paths to the Microservices
The solution to this problem is to add different paths for each microservice. For example, for the CustomerApi, I use /customerapi-test/?(.) and for the OrderApi /orderapi-test/?(.). Additionally, you have to configure this path in the Startup class of each microservice with the following code inside the Configure method:
The values.yaml file will contain the following code at the end:
Testing the Microservice with the Nginx Ingress Controller
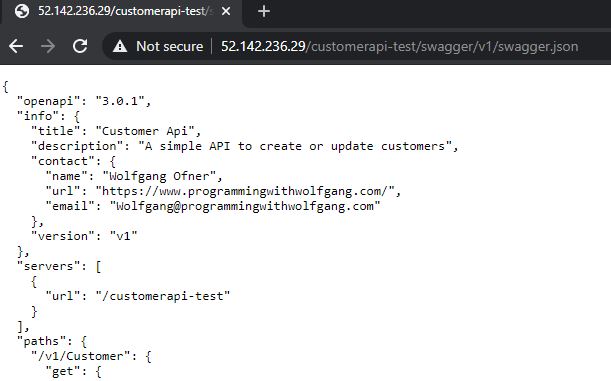
After you deployed both microservices, check if you can access the swagger JSON with the following URL:
Next, try to call one of the methods, for example, the PrimeNumber method:
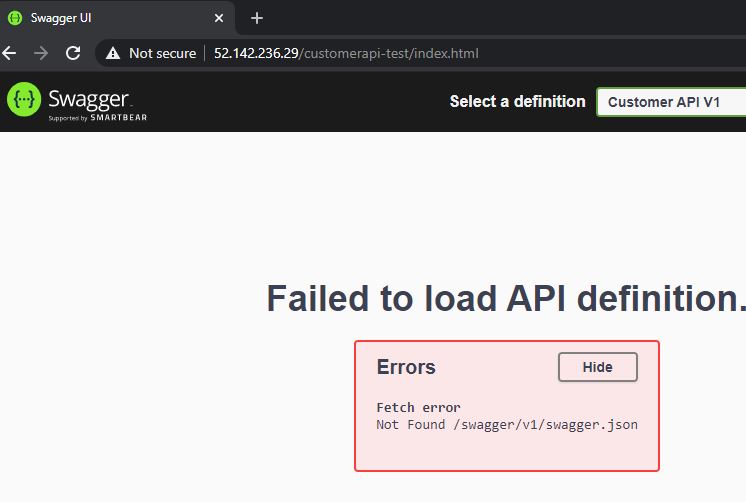
When you try to access the Swagger UI, you will get an error message though:
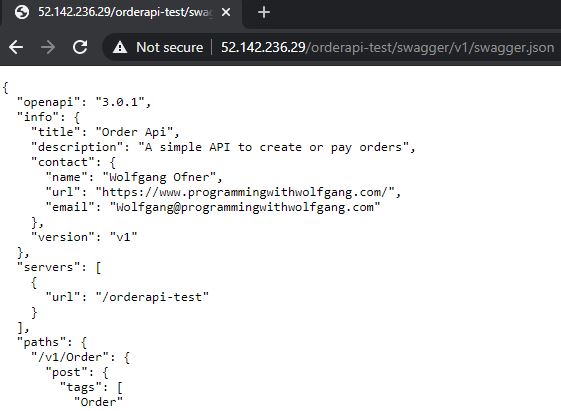
It is inconvenient that this is not working but I will leave it as it is for now. In my next post, I will replace the IP address with a DNS entry which should fix the problem. Lastly, check if the second microservice is also working with the following URL:
Conclusion
Nginx can be used as an Ingress controller for your Kubernetes cluster. The setup can be done within minutes using the Helm chart and allows you to have a single entry point into your cluster. This demo used two microservices and provides basic routing to access them.
In my next post, I will map a DNS name to the IP and access the microservices using different DNS names.
You can find the code of the demo on GitHub.
This post is part of “Microservice Series - From Zero to Hero”.




Comments powered by Disqus.