The Azure chat bot supports different answer types like videos, images or links. In my last post, I showed you how to make your bot smarter and understand the user’s input. In this post, I will show you how to return different types of answers.
Adding different reply types to the chat bot
To make your chat bot more appealing to the users, you should interact with your users with more than just text. The following demo is done with the Azure Bot Framework v3. For every return type, I create a simple intent which does nothing but return the desired type. The code can be downloaded from GitHub.
For every return type, I will create a new dialog and call this dialog in the intent. The calling method looks like this:
Reply with an internet video
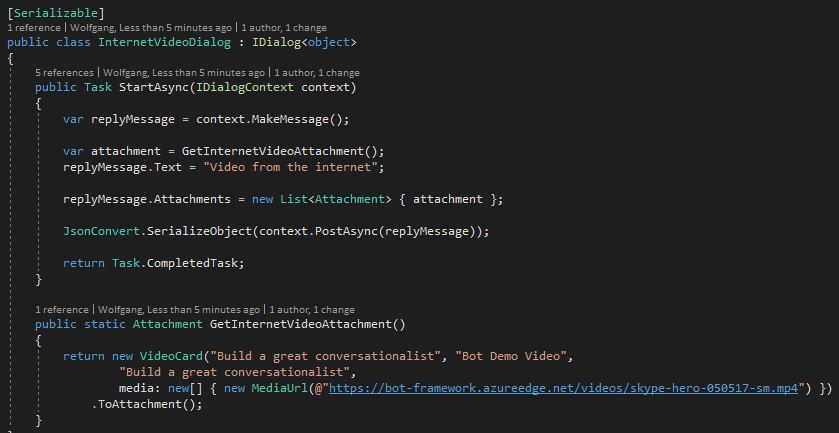
Replying with a video hosted somewhere on the internet is pretty simple. You only have to create a message, add a text to this message and then a VideoCard as attachment. Before you can send the reply, you have to convert it to JSON.
When you test your chat bot, you will see the video as the reply of the chat bot.
Reply with a Youtube video
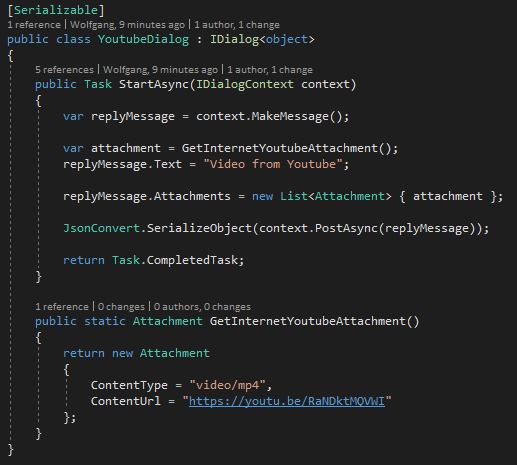
Replying with a Youtube video is almost the same as replying with a normal video. Instead of a VideoCard, a normal Attachment is returned.
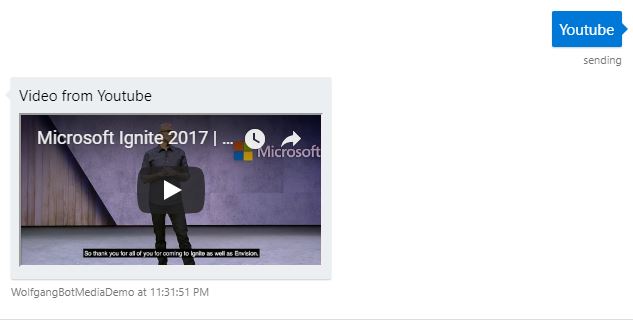
When testing the reply, you can see the embedded Youtube video in the chat.
Reply with a file from the internet
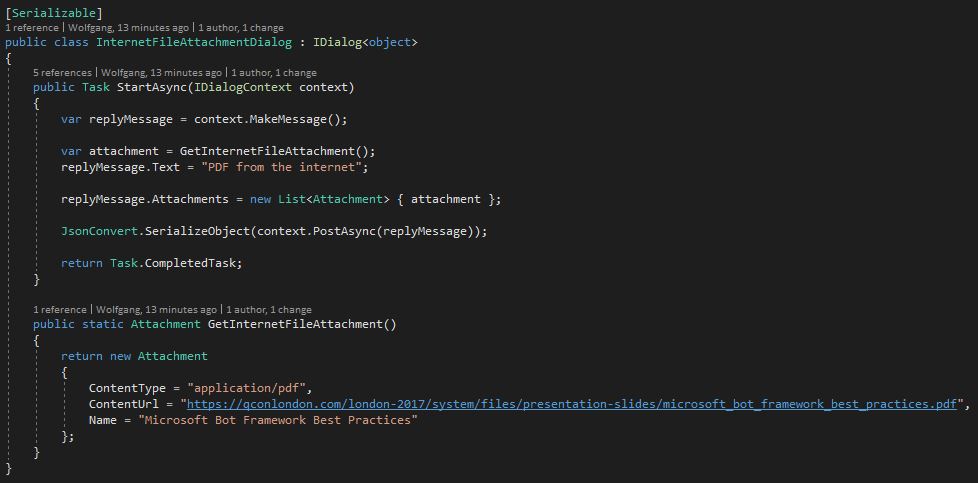
Returning a file from the internet is basically the same as returning a Youtube video. Additionally, a name is added to the returning Attachment.
Testing the file reply returns a pdf file which you can download.
Reply with an image from the internet
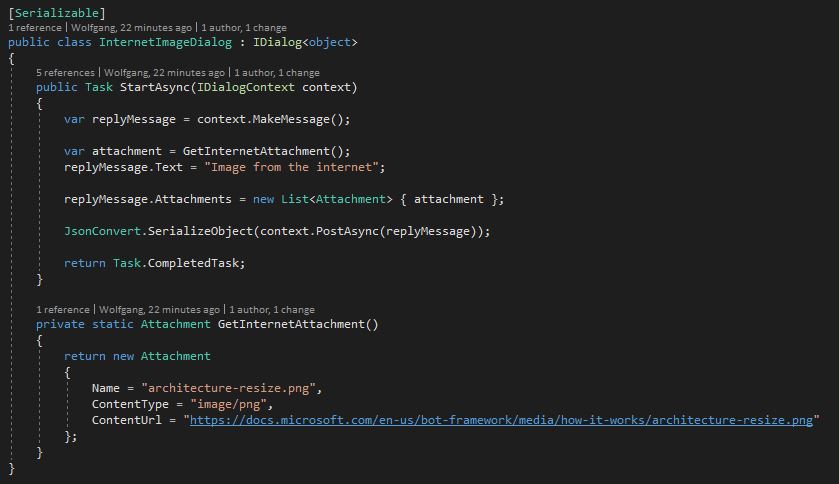
Replying with an image is the same as the pdf reply. The only difference is the ContentType which is image/png (or jpeg, gif and so on).
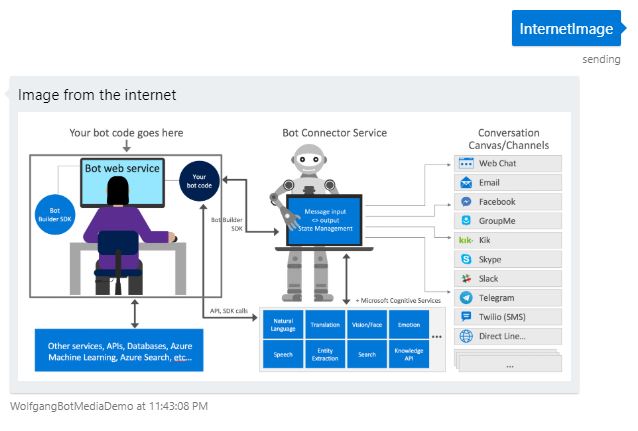
The test shows the image in the chat.
Reply an image carousel
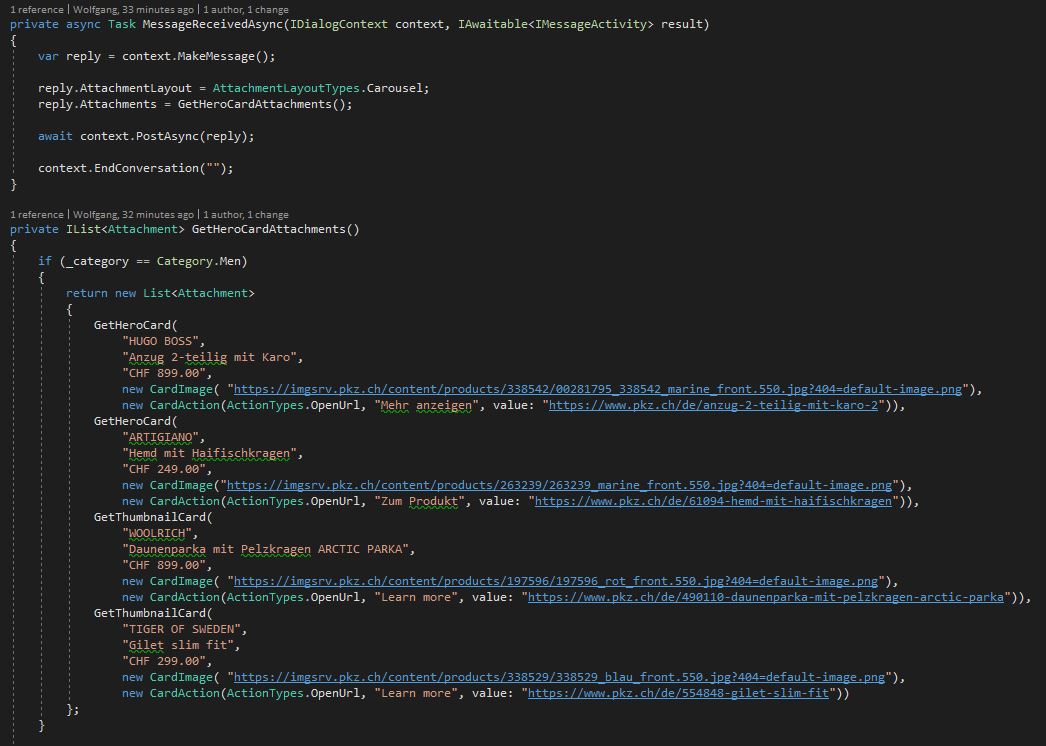
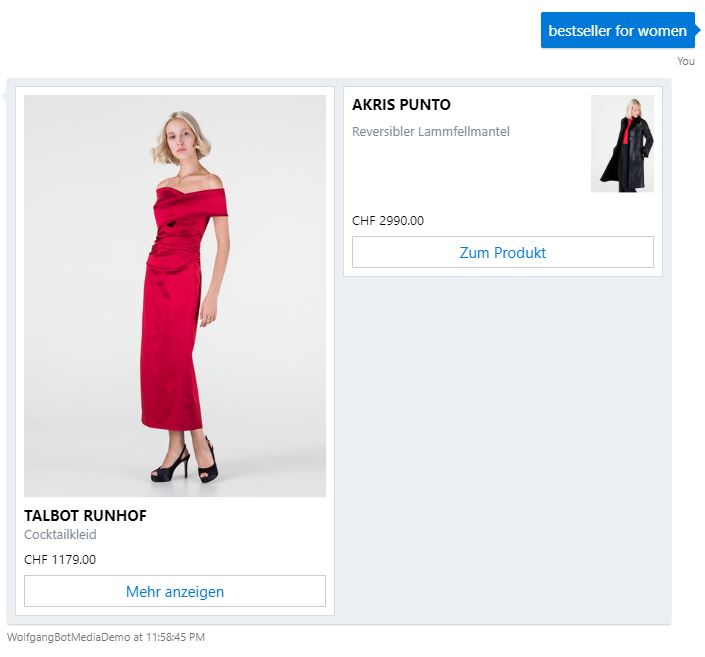
The image carousel is a great feature to enhance the user experience in your chat bot. To reply with an image carousel add a HeroCards to the list of Attachment. To make the code easier, I create a helper method, which creates the HeroCard and returns it as Attachment.
The HeroCard is a big image with the same text and a button. Additionally, you could create a ThumbnailCard, which has a small image, some text, and a button. Here is the helper method for the ThumbnailCard:
Next, I set the AttachmentLayout to AttachmentaLayoutTypes.Carousel and add a List of Attachment to the reply Attachments:
I don’t like mixing a HeroCard with a ThumbnailCard but for the sake of this demo, I combined them.
On the left side, you can see the HeroCard and on the right one, the ThumbnailCard.
Conclusion
In this post, I showed how to have different types of answers to enhance the user experience with your chat bot. In the next part, I will show you how to deploy your chat bot to Slack and to Facebook.







Comments powered by Disqus.