.NET 6, the fastest and best .NET ever just got released. The improved performance, new C# features, and the 3-year long-term support are great incentives to upgrade existing applications.
Let’s have a look at how much work it is and how to upgrade existing .NET 5 microservices to .NET 6.
System Requirements for .NET 6.0
To use .NET 6.0 you have to install the .NET 6.0 SDK from the dotnet download page and Visual Studio 2022 or later.
Uprgrade from .NET 5.0 to .NET 6.0
You can find the code of the demo on GitHub.
Before you begin, check the breaking changes in .NET 6 to make sure that your code is compatible with the new version.
Upgrading a microservice from .NET 5 to .NET 6 is as simple as it could be. All you have to do is to change the TargetFramework from net5.0 to net6.0 for every *.csproj file If you use my demo, you can change all .NET versions by changing the DefaultTargetFramework in the common.props file in the root folder of each microservice.
After updating the .NET version, rebuild your solution and check that everything still builds. If you get an error, try to execute a “clean solution” or delete all bin folders.
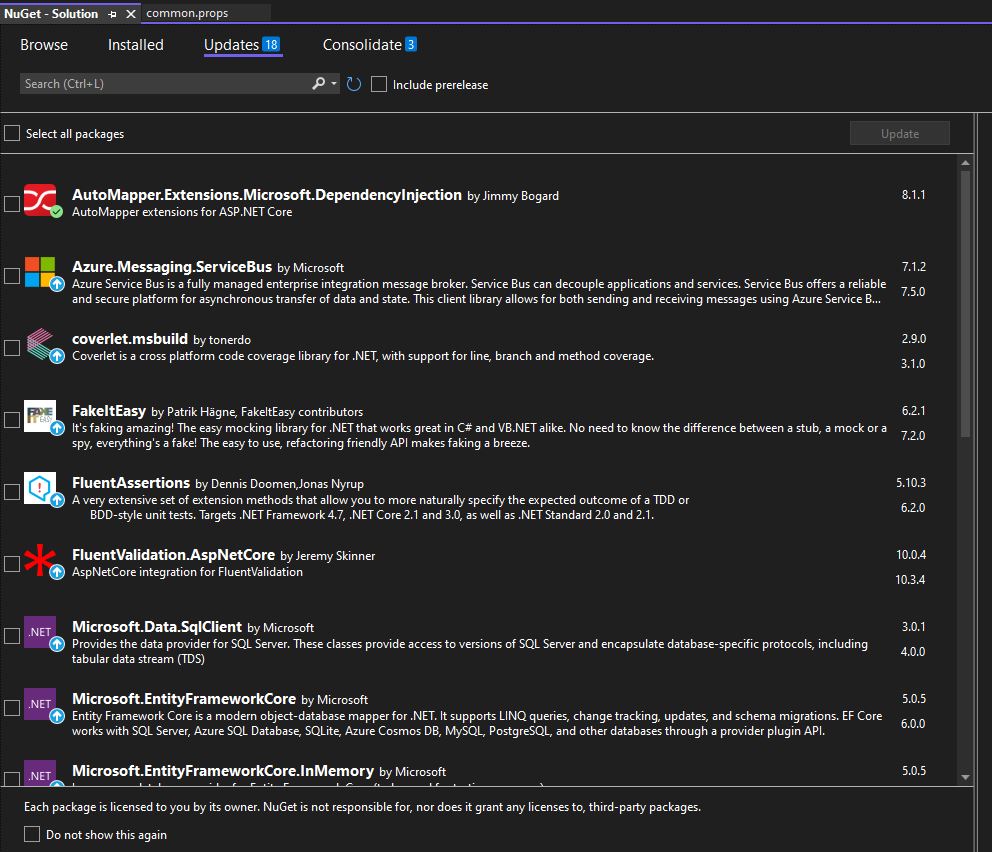
Once the solution builds, update your NuGet packages to the newest version.
Build the solution again and check for errors.
If you are using xUnit, you might have some errors since xUnit removed Throw with ThrowAsync when you are checking for exceptions. Replace Throw with ThrowAsync wherever needed and rebuild the application.
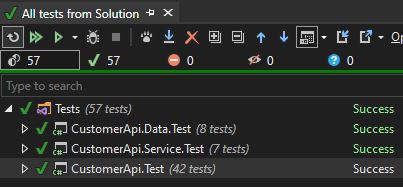
After fixing all compile errors, run all your unit tests and make sure that all tests still run successfully.
Update Dockerfiles
All my microservices run in Docker containers and therefore I have to update the Dockerfile to use the image for .NET 6.
Replace the following two lines:
with
The demo project uses Docker also to build the application in the CI pipeline. The beauty of this approach is that you don’t have to change anything in your build pipeline.
Update Swagger and Swagger UI
Swagger was a bit complicated to configure in the past but a couple of versions ago, the configuration got simplified. Updating the whole solution is a great opportunity to simplify the Swagger configuration.
First, remove the Swagger comment configuration in the .csproj file. This is not needed anymore.
Next, update the service definition in the Startup.cs class. All you need is AddEndpointsApiExplorer and AddSwaggerGen. You can add additional information like an email and description to AddSwaggerGen.
Lastly, add UseSwagger and UseSwaggerUI to the Configure method.
The RoutePrefix property allows you to configure the route to the Swagger UI. Setting it to string.Empty configures the application to display the Swagger UI when no URL is entered.
If you don’t want to update the configuration and use Swagger as always, all you have to do is update the XML comment section in the .csproj from .net5.0 to .net6.0.
Run the updated CI Pipeline
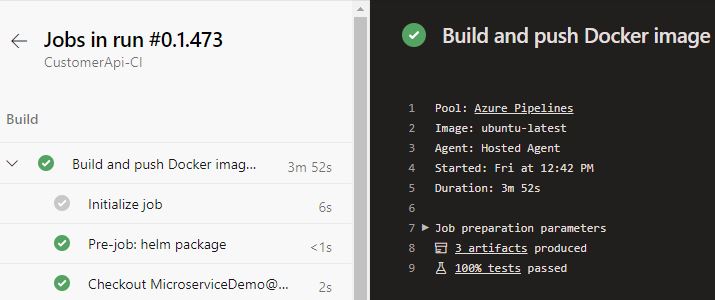
Check in your changes and the build pipeline in Azure DevOps should run successfully.
Considering new .NET 6 Features
.NET 6 put an emphasis on simplifying the structure of the project and files. You can change your files to use these features like global usings or top-level statements. You can also choose to keep the structure the way it already is. Both work just fine.
Limitations in November 2021
As of this writing, Azure Functions v4 supports .NET 6 but there is no Docker image for it yet. Since the CI/CD pipeline deploys the Azure Function in a Docker container, I can’t update it yet and leave it as it is.
Conclusion
Upgrading from .NET 5 to .NET 6 is very fast and simple. Most applications should be able to update without any problems by simply changing the .NET version number in the project file and the Dockerfile. Make sure to update your NuGet packages and test your application after the update to make sure that everything still works.
You can find the code of the demo on GitHub.
This post is part of “Microservice Series - From Zero to Hero”.


Comments powered by Disqus.