Getting code coverage in Azure DevOps is not well documented and the first time I configured it, it took me quite some time to figure out how to do it. It gets even more complicated when you run your tests inside a Docker container during the build.
In my last post, I showed how to run tests inside a container during the build. Today, I want to show how to get the code coverage of these tests and how to display them in Azure DevOps.
Code coverage gives you an indication of how much of your code is covered by at least one test. Usually, the higher the better but you shouldn’t aim for 100%. As always, it depends on the project but I would recommend having around 80%.
This post is part of “Microservice Series - From Zero to Hero”.
Setting up xUnit for Code Coverage
You can find the code of the demo on GitHub.
Install Coverlet
I use coverlet to collect the coverage. All you have to do is installing the NuGet package. The full NuGet configuration of the test projects looks as following:
I am using FakeItEasy to mock objects, FluentAssertions for a more readable assertion and xUnit to run the tests.
Collect the Code Coverage Results
After installing coverlet, the next step is to collect the coverage results. To do that, I edit the Dockerfile to enable collecting the coverage results, setting the output format, and the output directory. The code of the tests looks as follows:
The output format is json and Cobertura because I want to collect the code coverage of all tests and merge them into the summary file. This is all done behind the scenes, all you have to do is using the MergeWith flag where you provide the path to the json file. You could also build the whole solution if you don&’t want to configure this. The disadvantage is that you will always run all tests. This might be not wanted, especially in bigger projects where you want to separate unit tests from integration or UI tests.
This is everything you have to change in your projects to be ready to collect the coverage. The last step is to copy the results out of the container and display them in Azure DevOps.
Display the Code Coverage Results in Azure DevOps
In my last post, I explained how to copy the test results out of the container using the label test=${BuildId}. This means that besides the test results, the coverage results are also copied out of the container already. All I have to do now is to display these coverage results using the PublishCodeCoverageResults tasks from Azure DevOps. The code looks as follows:
The whole code to copy everything out of the container, display the test results and the code coverage looks as this:
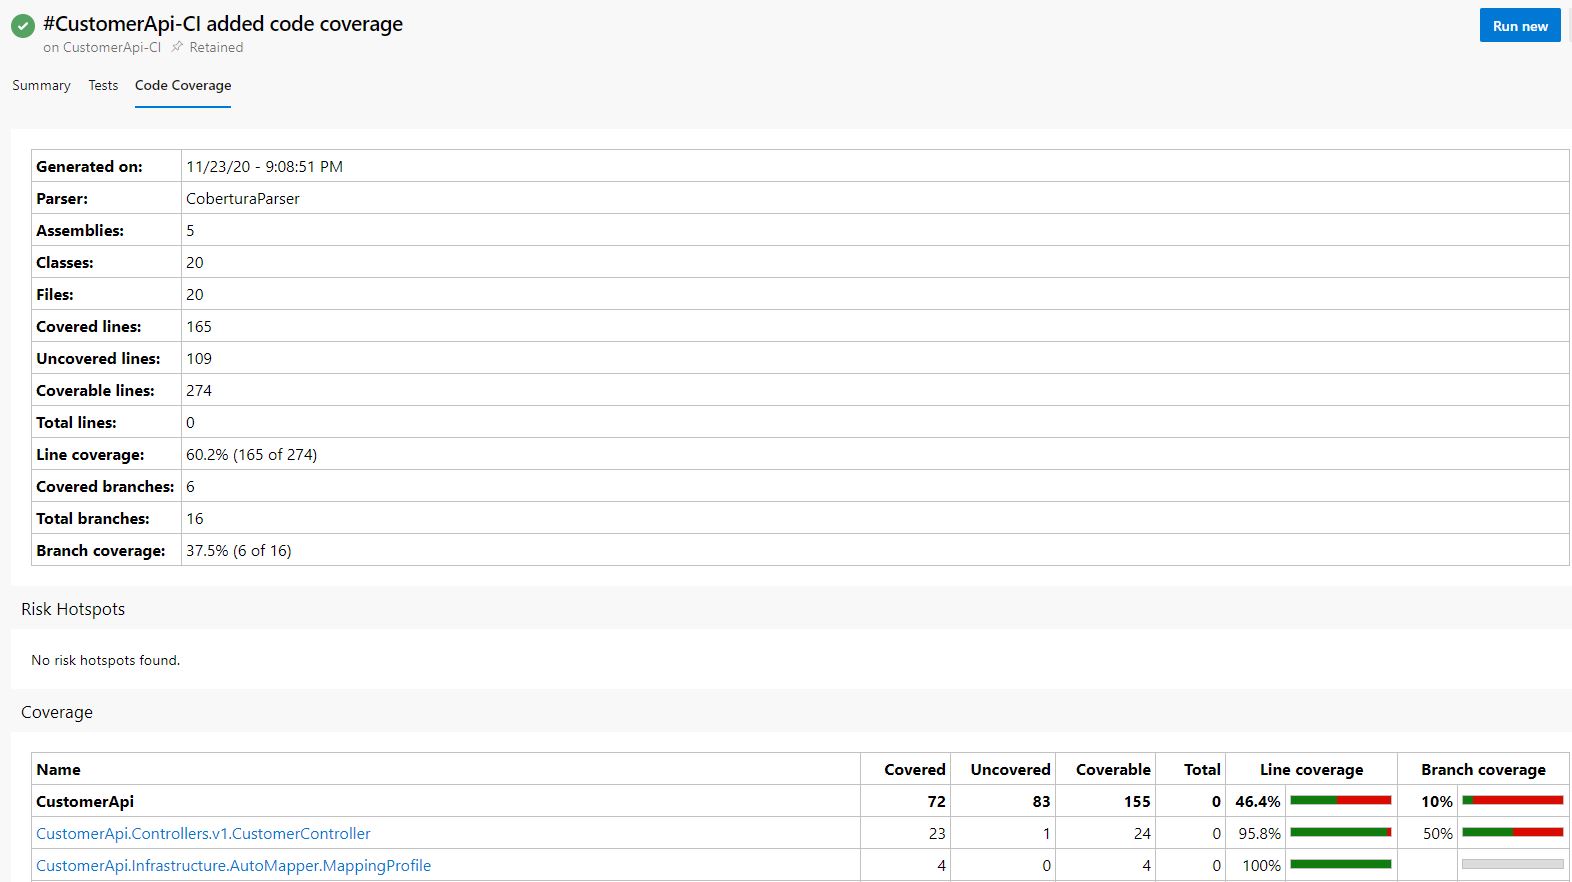
Save the changes and run the CI pipeline. After the build is finished, you will see the Code Coverage tab in the summary overview where you can see the coverage of each of your projects.
Conclusion
The code coverage shows how much of your code is covered by at least one test. This post showed how easy it can be to display these results in Azure DevOps, even when the build runs inside a Docker container.
You can find the code of the demo on GitHub.
This post is part of “Microservice Series - From Zero to Hero”.


Comments powered by Disqus.