During the course of this week, I had the opportunity to assist one of my clients in the complex process of migrating their on-premises database to the highly sophisticated cloud-hosted TimescaleDB, a cutting-edge solution renowned for its exceptional performance and scalability. Given the client’s preference for the Azure platform, they expressed their desire to deploy the new TimescaleDB on Azure infrastructure.
One remarkable feature offered by Timescale is the provision to host the database on Azure while also enabling a secure and private connection through Virtual Private Cloud (VPC) peering. This ingenious approach allows customers to establish a direct peering connection between their own Virtual Network (VNet) and the Timescale’s VNet, thus confining inbound traffic exclusively to this designated VNet. Consequently, it effectively restricts any access to the database from the vast expanse of the internet.
Regrettably, I encountered a few challenges while attempting to establish the VPC peering, necessitating a detailed description of the troubleshooting and eventual success I achieved in this endeavor.
Introduction
Upon conducting extensive research and reaching out to the responsive Timescale support team, I fortuitously stumbled upon an article, “Setting up a VPC on Azure”, within the Timescale knowledge base. This article delves into the intricacies of setting up a Virtual Private Cloud (VPC) on Azure, offering invaluable insights for individuals embarking on a similar journey.
As I diligently followed the guide, I encountered a few stumbling blocks. Firstly, I encountered issues with certain commands in the Azure Command-Line Interface (CLI), where they failed to execute as expected. Secondly, I observed that the guide employed a rather convoluted approach, needlessly complicating the process. Specifically, in instances where a query yielded a value, the guide instructed users to manually extract and assign the value to a variable, rather than automating this assignment process.
Follow this guide closely, as it will reveal the shortcomings and discrepancies present within the official documentation. By doing so, you will not only identify the specific areas that require attention and revision, but you will also obviate the need for manual variable assignment. The guide ensures that output values are automatically assigned, alleviating the burden of manual intervention.
Let’s get started
Before we delve into the technical aspects of the VPC peering, it is important to note that this article assumes you have already set up a TimescaleDB with VPC in Azure. If this is not the case, log into your Timescale account and proceed to create a new VPC within your desired Azure region. Please wait until the VPC reaches an active state before proceeding to create a new database, ensuring that the previously created VPC is designated as its location. Note that accessing this database will not be possible until the VPC peering process is completed.
To aid in our exploration, we shall primarily rely on the command line interface, utilizing PowerShell Core, the Azure CLI and Aiven CLI on an Ubuntu environment. While it is theoretically feasible to create a VPC peering through the Timescale portal, this approach fails to encompass all the essential steps, rendering it ineffective for our purposes.
Let us now embark on this command line journey, as we unveil the intricate steps required to establish a successful VPC peering for your TimescaleDB.
Create an Application in your AAD
To proceed with the VPC peering setup, we will first create an application in your Azure Active Directory (AAD). Please follow the steps outlined below:
First, log into your Azure account using the Azure CLI and ensure that you have set the desired subscription (if applicable). Use the following command:
Once you are logged in and have set the appropriate subscription, execute the following command to create an application in your AAD. You can choose any display name you prefer:
Please note that in the above command, we have included the –sign-in-audience AzureADandPersonalMicrosoftAccount flag, which allows multiple tenants to log into this application. However, it is important to clarify that only your specific tenant possesses the necessary credentials for authentication.
At this juncture, it is crucial to highlight a notable discrepancy in the official guide. The guide suggests using the –available-to-other-tenants flag, which, to the best of my knowledge, does not exist and consequently will not function as intended. Instead, please ensure that you utilize the –sign-in-audience flag as specified above.
Create a Service Principal
In the next step, we will create a service principal for the AAD application that we previously established. This service principal will play a crucial role in the subsequent process of peering your Virtual Network (VNet) with Timescale’s VNet. Please follow the instructions below:
Execute the following command to create the service principal:
By creating this service principal, you are effectively generating the necessary credentials that will facilitate the VPC peering between your VNet and Timescale’s VNet. This step is vital to ensure the successful establishment of the desired connection.
Set a Password for the Application
To ensure smooth authentication and secure access to Azure using the AAD application we created earlier, we need to set a password for the application. This password will serve as the necessary credential for logging into Azure. Please follow the steps outlined below:
Execute the following command to reset the password for the AAD application:
Upon executing this command, a warning will appear, cautioning you to exercise care as the output will contain sensitive credentials. However, in this case, we can safely ignore the warning, as obtaining the password for the Azure login is the exact purpose of this action.
By setting the password for the application, we are ensuring a secure and authenticated access point to Azure. With this vital step complete, we are now prepared to proceed with the subsequent stages of the VPC peering process.
Gather Information about your VNet, Resource Group, and Subscription
In order to proceed with the VPC peering configuration, we need to gather some essential information about your Virtual Network (VNet), the associated resource group, your subscription ID, and your tenant ID. Please follow the instructions below and replace the placeholders for “YOUR_VNET_NAME” and “YOUR_PEERING_NAME” with your specific values:
Assign the Network Contributor Role to the Service Principal
To enable the service principal, which we created earlier, to create the peering from your VNet to the Timescale VNet, we need to assign the Network Contributor role to the service principal. This role will provide the necessary permissions for network-related operations.
Execute the following commands to query the ID of the Network Contributor role and assign it to the service principal:
The –scope flag ensures that the role assignment is limited to the VNet resource, providing the necessary level of access for the service principal to establish the VPC peering connection.
Create a Service Principal for the TimescaleDB application
To establish a peering connection between your Timescale VPC project and your VNet, the Timescale Active Directory (AD) application requires a service principal in your Azure subscription. Execute the following code to create the service principal for the TimescaleDB application:
Please note that you need to have the “Application Administrator” permission to execute the code provided. If you encounter an error message stating “Insufficient permissions to create the service principal,” it means you do not have the necessary permissions.
Create a Custom Role for the Network Peering
To provide the Timescale application with the necessary permissions to create the network peering, it is recommended to create a custom role that includes only the “Microsoft.Network/virtualNetworks/peer/action” permission. This ensures that you grant the least amount of permissions required for the task.
First, save the following code as a JSON file, e.g., customRole.json. Replace <YOUR_SUBSCRIPTION_ID> with your actual subscription ID, and if desired, modify the name of the role:
Next, execute the following command to create the custom role using the JSON file:
Lastly, assign the custom role to the previously created Timescale service principal using the following command:
Create an Access Token for the Aiven CLI
To create an access token for the Aiven CLI in the Timescale portal, follow the steps below:
- Log into your account in the Timescale portal.
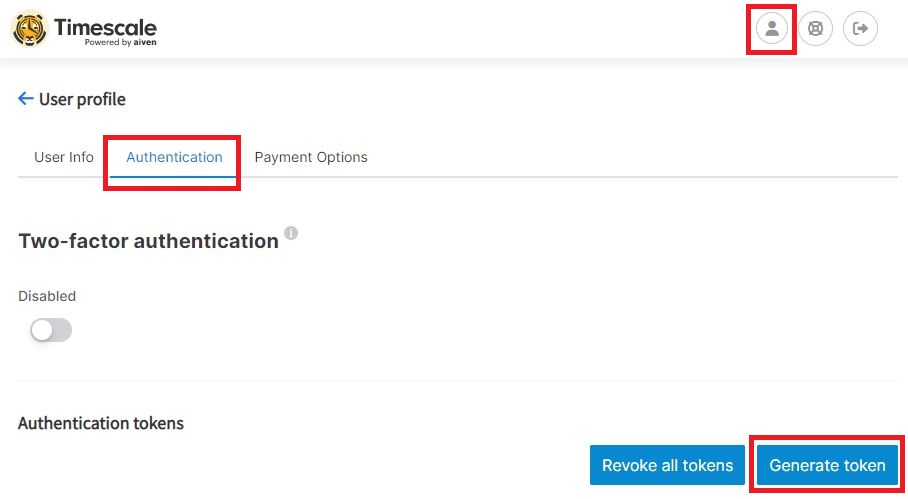
- Click on your account icon located on the top right corner of the page.
- Switch to the “Authentication” tab.
- Click on the “Generate token” button.
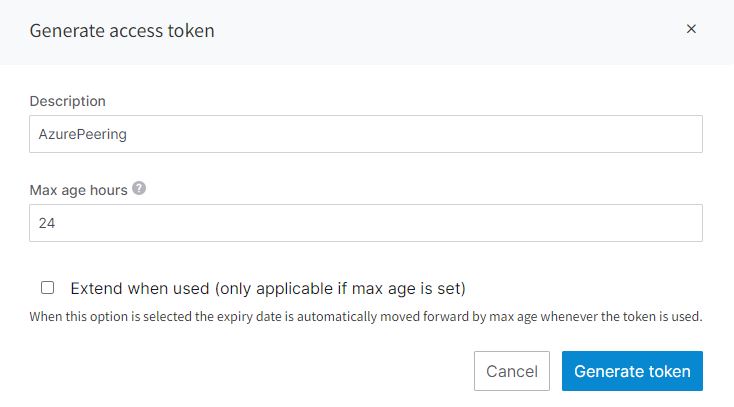
This will open a new window where you can enter a name for your access token and configure its expiration time.
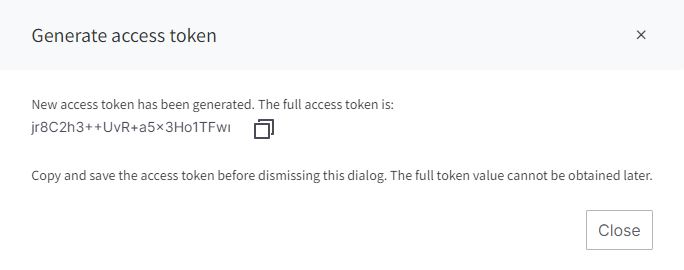
After setting the token name and expiration time, click on the “Generate token” button. The access token will be generated, and you should see it in the generated token list.
Make sure to copy the access token at this point, as it will not be visible again. Safely store the access token as it will be required for authentication when using the Aiven CLI.
Additionally, it is highly recommended to enable two-factor authentication (2FA) in your account settings for enhanced security. Enabling 2FA adds an extra layer of protection to your account by requiring an additional verification step during the login process.
Install the Aiven CLI
To install the Aiven CLI and log into your Timescale account, follow these steps:
First, you need to install Python and pip if they are not already installed on your system. Use the following commands to install them:
Once Python and pip are installed, you can proceed to install the Aiven CLI. Use the following command to install it:
After the Aiven CLI is installed, you can log into your Timescale account using the CLI. Replace <YOUR_USER> in the following command with your Timescale username:
This command will prompt you to enter your access token. Paste the access token that you previously generated in the Timescale portal and press Enter.
Once you have successfully logged in, you are ready to use the Aiven CLI for further configuration steps.
Retrieve the VPC Project ID
To retrieve the VPC Project ID, you can use the following command:
The following code works because there is only 1 VPC per region. Replace timescale-azure-switzerland-north with your location if you are not using Switzerland North. The project ID is always 36 characters long, as far as I know.
Create Peering Connection
The VPC project id and some of the previously created variables are now needed to create a peering connection from the Timescale VNet into your VNet. Use the following code to create the connection:
Note that the input variables starting with user_ must be lowercase since the Aiven API can only handle lower-case inputs.
Check the Peering Status and Assign Variables
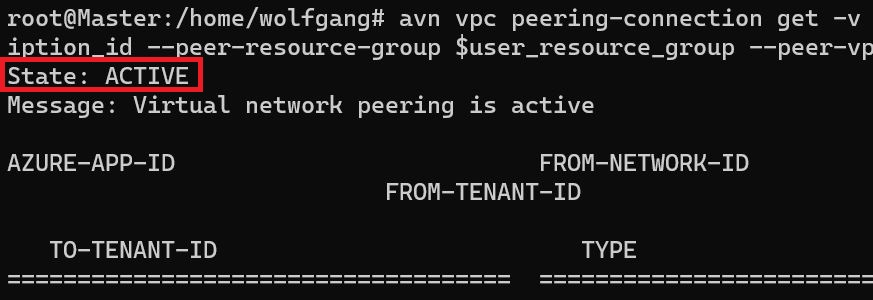
Creating the peering connection might take some time but usually, it is only a couple of seconds. Before you proceed, make sure with the following command that the state of the connection is ACTIVE.
If the state is not ACTIVE, wait a bit and retry the command from above. If the state is INVALID_SPECIFICATION or REJECTED_BY_PEER, check that VNet you passed as a parameter exists and that the Timescale application was given the proper permissions. After you checked that, repeat the command from above and the peering connection should be created.
The output of this command is horrendous but you have to copy the value of to-tenant-id and to-network-id to the variables aiven_vnet_id and aiven_tenant_id. Make sure to replace the placeholder with your actual values.
The tenant Id is a GuId and the VNet id should look something like “/subscriptions/<SUBSCRIPTION_ID}>/resourceGroups/…
Create the VNet peering from your VNet to your VPC
Log out of the Azure CLI and then log in with your service principal into your tenant and also into the Timescale tenant.
After you successfully logged into both tenants, create the VNet peering between your VNet and the Timescale VNet
You can check the state of your peering connection with the following command:
After creating the peering connection, the initial state will be APPROVED, and after a few seconds, it should transition to PENDING_PEER.
Wait for a while, and the peering state should switch to ACTIVE.
If you follow the official documentation, note that the command to check the state is cut off and won’t work.
Test the Connection
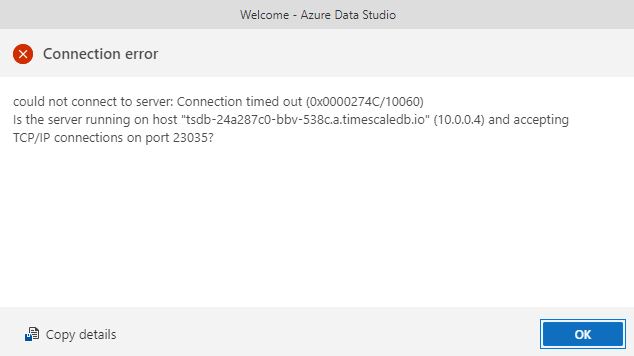
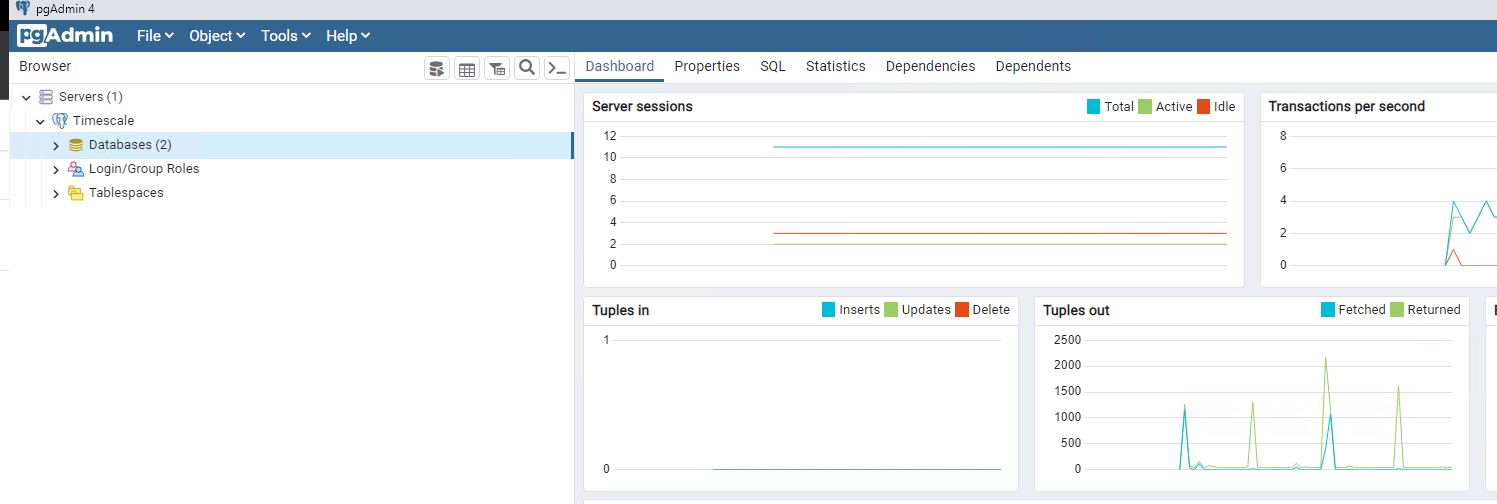
With the peering connection in place, test if you can log into your Timescale database. Make sure that you are connecting from within your peered VNet, otherwise, the connection won’t work.
Note that I used pgAdmin to test the connection despite using Azure Data Studio at the beginning of this tutorial. The PostgreSQL extension of Azure Data Studio was constantly crashing and I could not get it working again.
Clean up your Resources
If you do not need your resources anymore, make sure to clean up everything you have created.
Delete the VNet Peering
First, delete the VNet peering with the following command.
Delete both Role Bindings
Next, retrieve the Ids of the role bindings and then delete both.
Delete the Custom Role
After you deleted the role binding, delete the previously created custom role.
If you used a different name for the custom role, make sure to replace “VnetPeerCreator” with your name.
Delete the Applications from your AAD
Lastly, delete both applications from your AAD.
Note that deleting an application from AAD is an irreversible action, and it permanently removes the application and its associated resources. Make sure to double-check the application IDs before executing the delete commands to avoid deleting the wrong applications. Also, ensure that you have the necessary permissions (“Application Administrator”) to delete the applications.
Conclusion
In conclusion, this guide demonstrated how to create a private peering connection between your Azure subscription and a Timescale database. By establishing a direct and secure network connection, you can access your database from within your Azure resources while avoiding exposure to the public internet.
This approach enhances security, reduces latency, and simplifies network architecture. By following the provided steps, you successfully set up the peering connection and tested its functionality.





Comments powered by Disqus.