

In my last post, I dockerized my ASP .NET Core 3.1 microservices but the HTTPS connection didn’t work. Kestrel needs a certificate to process HTTPS requests. Today, I will show you how to create a development certificate and how to provide it to your Docker container so you can use ASP .NET Core with HTTPS in Docker.
Start a Docker Container without a Certificate
Before I start, I want to show you what happens when you try to start a .NET Core application without a valid certificate. I use the following command to start the container:
This command sets a port mapping, adds an environment variable and starts the image customerapi from my Docker Hub repository. Executing this command will result in the following exception:

Start a .NET Core application without a certificate
As you can see, Kestrel can’t start because no certificate was specified and no developer certificate could be found. When you start your application inside a Docker container within Visual Studio, Visual Studio manages the certificate for you. But without Visual Studio, you have to create the certificate yourself.
Creating a Certificate to use ASP .NET Core with HTTPS in Docker
You can create a certificate with the following command: dotnet dev-certs https -ep [Path of the certificate]-p [Password]. I create the certificate under D:\temp and set Password as its password.

Creating the certificate
Note that you must set a password. Otherwise, Kestrel won’t be able to use the certificate.
Provide the Certificate to the Docker Image
After creating the certificate, you only have to share it with your container and the .NET Core application should start. I use the following command:

Start a .NET Core application and provide a certificate
When you open https://localhost:32788, you should see the Swagger UI.
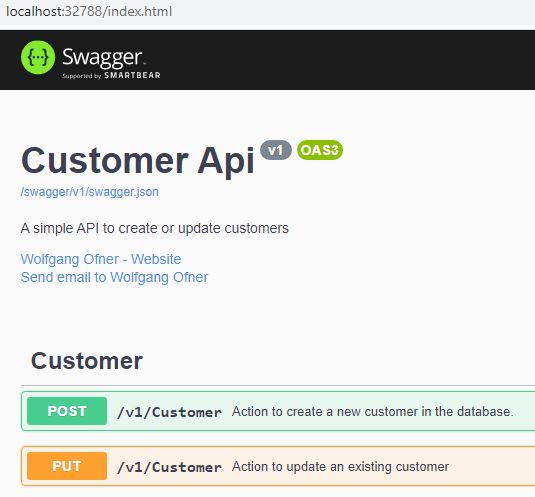
Testing the application with HTTPS
Explaining the Docker Parameter
In this section, I will shortly explain the used parameter from the example above.
- -p maps the container from the host inside the container. -p 32789:80 means that the container is listening on port 32789 and redirects it to port 80 inside the application.
- -e is used to provide an environment variable. Kestrel__Certificates__Default__Path tells the application where the certificate is located and Kestrel__Certificates__Default__Password tells the application the password of the certificate. “ASPNETCORE_URLS=https://+;http://+” tells Kestrel to listen for HTTP and HTTPS requests.
- -v creates a volume that allows you to share files from your computer with the container.
Using the Certificate in the Container
I created a certificate and copied it into the container during the build. To do that you have to remove .pfx from the .gitignore file. Note that you should never share your certificate or put it inside a container. I only did it to simplify this demo. To use the certificate inside the container, use the following command:
Conclusion
This post showed how to create a certificate and how to provide it to your application inside a Docker container. This enables you to use ASP .NET Coree with HTTPS in Docker.
In my next post, I will create a docker-compose file which will help you to start both microservices and RabbitMQ with a single command.
You can find the code of the finished demo on GitHub.
This post is part of “Microservice Series - From Zero to Hero”.
Comments powered by Disqus.