

Kubernetes automatically checks if a pod is healthy and also when it is ready to accept traffic. These checks are done using a readiness probe and liveness probe respectively. This post shows how to configure these probes in a .NET 5 microservice and how to configure them in Kubernetes using Helm charts.
This post is part of “Microservice Series - From Zero to Hero”.
Liveness Probe
Kubernetes regularly checks whether a pod is still alive or not. To check that, Kubernetes sends a request to the URL and port configured in the liveness section of the deployment. If the request returns an HTTP code greater or equal to 200 but less than 400, the pod is considered healthy. In every other case, the pod is considered dead and will be restarted. A liveness probe looks as follows:
The code above tells Kubernetes to perform the liveness probe on the URL /health on port 80 (port 80 is HTTP). By default, K8s checks every 10 seconds but you can change this value using the periodSeconds parameter.
Readiness Probe
The readiness probe works the same way as the liveness probe except that it is only executed to determine whether a pod is ready to receive traffic after startup. A readiness probe looks as follows:
This is a very simple probe and also checks the /health endpoint. Your application might execute some logic like warming up the cache which takes a couple of minutes. Then Kubernetes will wait until this is done and only then start routing traffic to the pod.
Configuring Health Checks in .NET 5 and .NET Core
You can find the code of the demo on GitHub.
Health checks were introduced in .NET Core 2.2 and can be configured in the Configure method of the Startup class. To create a simple health check, you can use the MapHealthCheck extension and provide the name of the endpoint.
.NET Core and .NET 5 provide a wide variety of options to configure the health checks. For example, you can customize the return codes or even check if the database is accessible. For more details, take a look at the great documentation.
Configuring Health and Readiness Probes with Helm
For more information about Helm and its configuration, see my previous post Helm - Getting Started.
Open the deployment in the Helm charts folder. There you can see the liveness and readiness probe already.
As you can see, the liveness probe checks the /health endpoint and the readiness probe the /ready endpoint. Since the /ready endpoint doesn’t exist, the pod won’t be able to start. The probes are only added when the probes.enabled value is set to true. by default, this value is already set to true. To change the value, go to the values.yaml file.
Testing the Health and Readiness Probes
Deploy the microservice using the CI/CD pipeline and you will see that it fails during the Helm upgrade release task. This task times out after five minutes because the pod was not able to start (more precisely it started but the readiness probe failed).
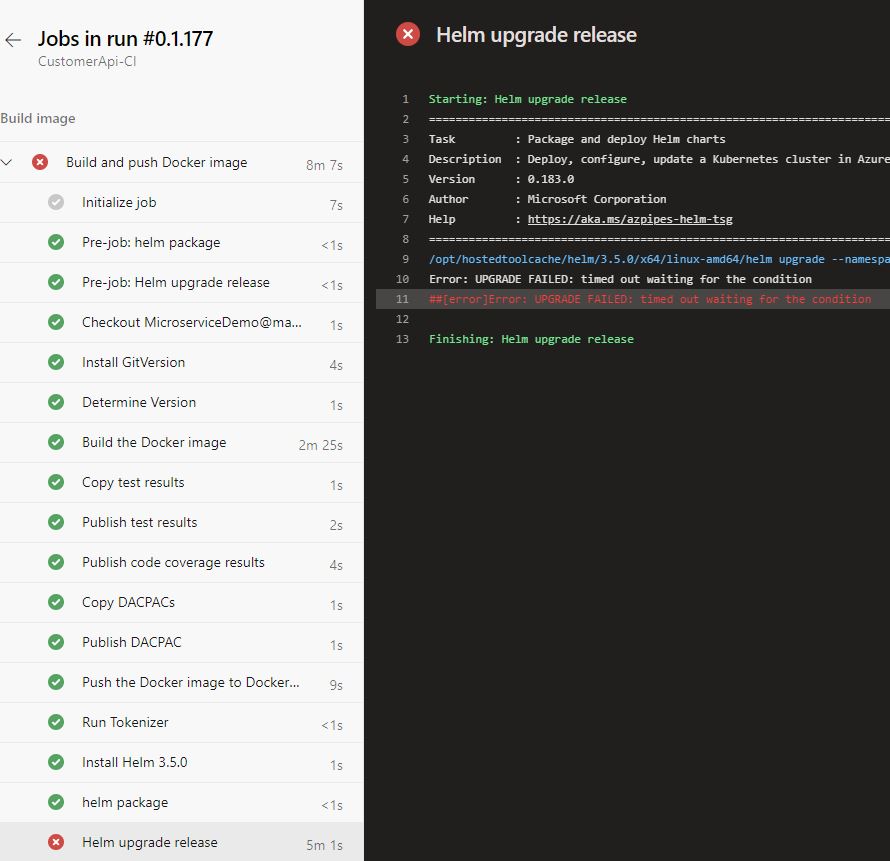
The deployment failed
When you connect to the dashboard and open the details of the pod, you can see that the readiness probe failed. For more information about accessing the dashboard, see my previous post Azure Kubernetes Service - Getting Started.
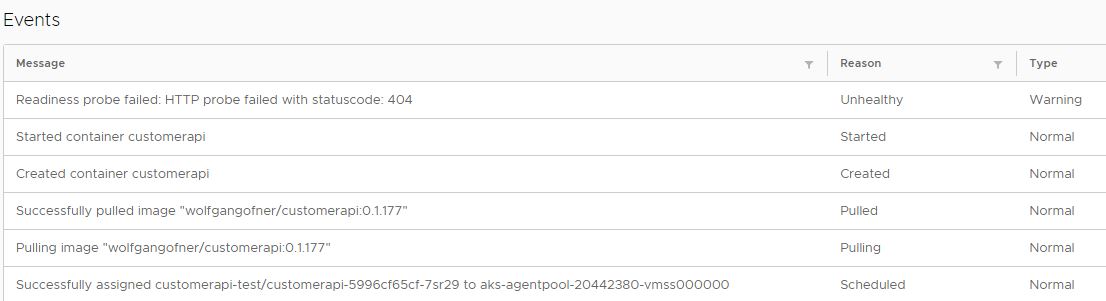
The readiness probe failed
You also might see a warning that the liveness probe failed. This might be caused by Kubernetes checking the liveness of the pod before its port was opened. To prevent Kubernetes from checking too fast, use the initialDelaySeconds parameter to tell K8s to wait a certain amount of time before checking the first time.
Fixing the broken Readiness Probe
Change the path in the readiness probe from /ready to /health. Additionally, I added the initialDelaySeconds parameter and set it to 15 seconds. This tells Kubernetes to wait 15 seconds before it executes its first check. The finished liveness and readiness probe looks as follows:
Run the CI/CD again and this time the deployment will succeed and the pod will start successfully.
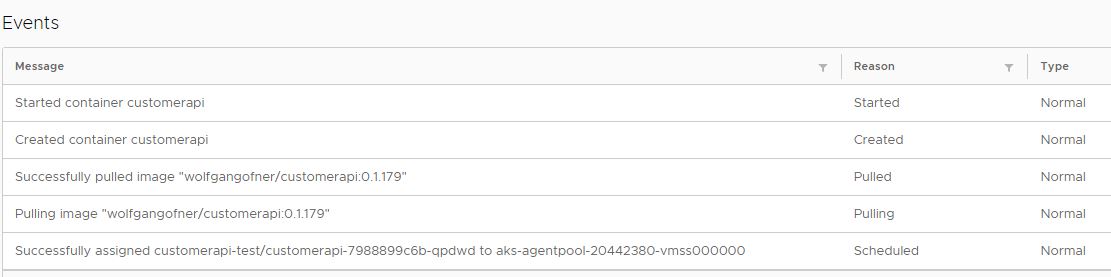
The pod started successfully
Conclusion
Readiness probes are used to check if a pod is ready to receive traffic. Only after a successful probe, traffic is routed to the pod. Liveness probes work the same way as readiness probes and check periodically if a pod is still alive. If a pod is not alive anymore, Kubernetes restarts it. .NET 5 and .NET Core 2.2+ allow to easily create health checks with only a handful of lines of code.
Today’s demo was very simple but it should show you enough to get started and create more complex probes.
You can find the code of the demo on GitHub.
This post is part of “Microservice Series - From Zero to Hero”.
Comments powered by Disqus.