Microservices are becoming more and more popular these days. These microservices run most of the time in Kubernetes. A goal we want to achieve with microservices is a quick and reliable deployment.
In this post, I will show how to deploy your application to Kubernetes (more precisely Azure Kubernetes Service (AKS)) using Helm and Azure DevOps pipelines.
This post is part of “Microservice Series - From Zero to Hero”.
Create a Kubernetes Cluster in Azure
If you are new to Kubernetes or want instructions on how to install an Azure Kubernetes Service (AKS) cluster, see my post “Azure Kubernetes Service - Getting Started”.
Create a Service Connection in Azure DevOps
Before you can deploy to AKS, you have to create a service connection so Azure DevOps can access your Azure resources. To create a new service connection go to Project settings –> Service connections and click on New service connection.
This opens a flyout where you have to select Azure Resource Manager and then click Next.
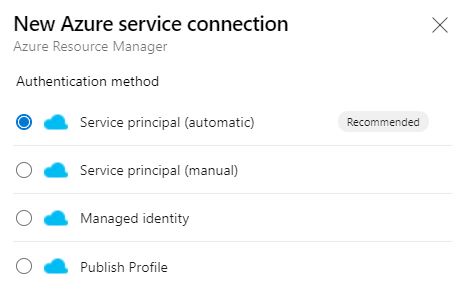
Select Service principal (automatic) as your authentication method and click Next.
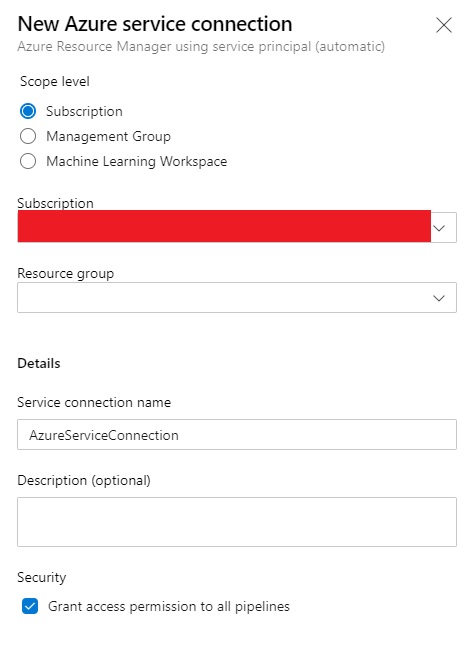
On the next step, select a scope level, your subscription, the resource group, and provide a name. For example, you could configure that the service connection is only allowed to access the subscription ABC and in this subscription access only the resource group XYZ. I want my service connection to access all resource groups. Therefore, I don’t select any.
Click on Save and the service connection gets created. Note that the service connection name will be used in the pipeline to reference this connection.
Configure the Azure DevOps YAML Pipeline to Deploy to Azure Kubernetes Service
I created already a YAML pipeline in my previous posts which I will extend now. You can find this pipeline on GitHub.
Since I already have a Docker image on Docker hub, I only have to add the creation of the Helm chart and a couple of variables to the pipeline.
Define Variables for the Deployment
First, I add the following variables at the beginning of the pipeline:
The variables should be self-explaining. They configure the previously created service connection, set some information about the AKS cluster like its name, resource group, what namespace I want to use, and some information for Helm. For more information about Helm see my post “Helm - Getting Started”.
Deploy to Azure Kubernetes Service
Since I am using Helm for the deployment, I only need three tasks for the whole deployment. First I have to install Helm in my Kubernetes cluster. I use the HelmInstaller task and provide the Helm version which I previously configured in a variable.
Next, I have to create a Helm package from my Helm chart. To do that, I use the HelmDeploy task and the package command. For this task, I have to provide the service connection, the information about my Kubernetes cluster, the path to the Helm chart, and a version. I calculate the version at the beginning of the pipeline and set it in the Build.BuildNumber variable. Therefore, I provide this variable as the version.
The last step is to install the Helm package. Therefore, I use HelmDeploy again but this time I use the upgrade command. Upgrade installs the package if no corresponding deployment exists and updates it if a deployment already exists. Additionally, I provide the –create-namespace argument to create the Kubernetes namespace if it doesn’t exist.
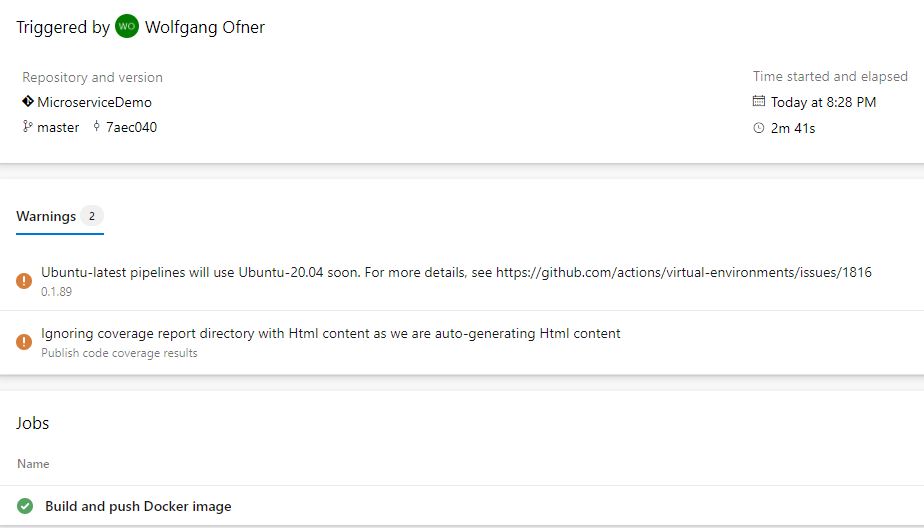
That’s already everything you need to deploy to Kubernetes. Run the pipeline to test that everything works as expected.
For practice, try to add the deployment to another namespace, for example, prod.
Test the deployed Microservice
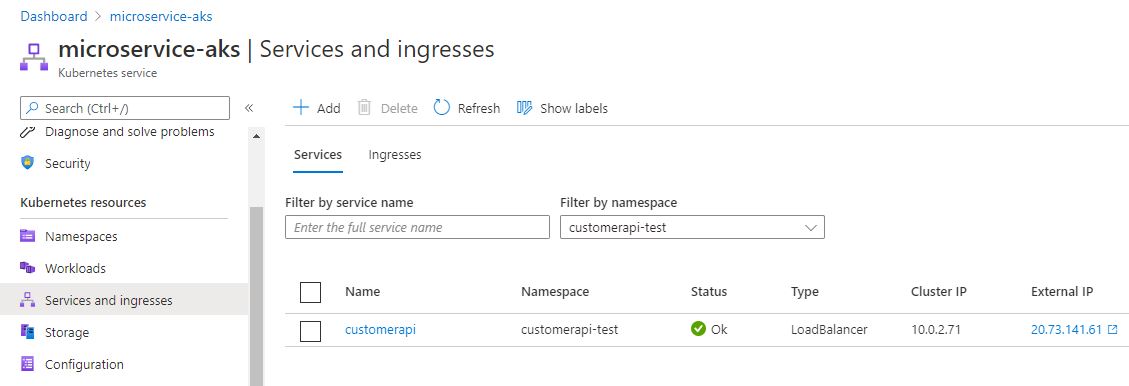
Use the dashboard of Kubernetes (see here how to use Octant) or use the Azure portal to find the URL of the previously created microservice.
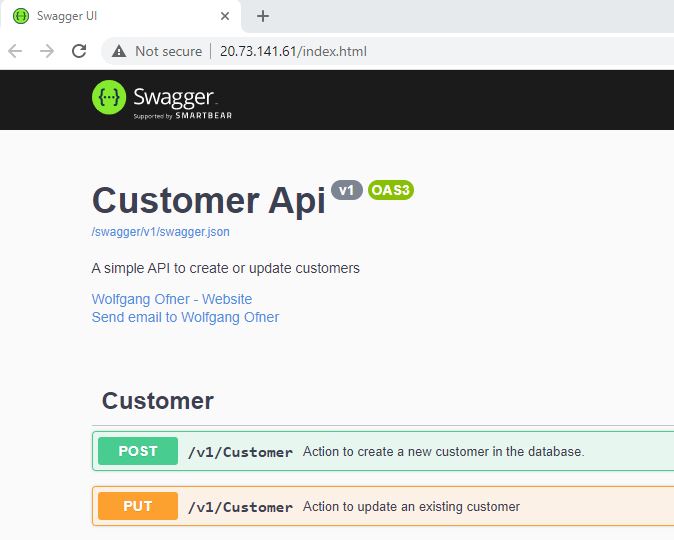
Open the external URL in your browser and you will see the Swagger UI of the microservice.
The finished Pipeline
The full YAML pipeline looks as follows:
Shortcomings of my Implementation
This implementation is more a proof of concept than a best practice. In a real-world project, you should use different stages, for example, build, deploy-test, and deploy-prod. Right now, every build (if it’s not a pull request) deploys to test and prod. Usually, you want some tests or checks after the test deployment. The pipeline is also getting quite long and it would be nice to move different parts to different files using templates.
I will implement all these best practices and even more over the next couple of posts.
Conclusion
Using an Azure DevOps pipeline to deploy to Kubernetes is quite simple. In this example, I showed how to use Helm to create a Helm package and then deploy it to an Azure Kubernetes Service cluster. Over the next couple of posts, I will improve the pipeline and extend its functionality to follow all best practices.
You can find the code of the demo on GitHub.
This post is part of “Microservice Series - From Zero to Hero”.


Comments powered by Disqus.